12 Days of Christmas Ideas – Day 8
Magnetic Picture Frames are a favourite of mine. I have seen a number of styles displayed in various people’s homes, and each time they capture my attention. What I like most about these is that they allow you the freedom to easily update the display in a way that fits your personal style and level of creativity. I have often looked at buying them for myself or as a gift but the price would always deter me – so recently I decided to have a go at making some myself.
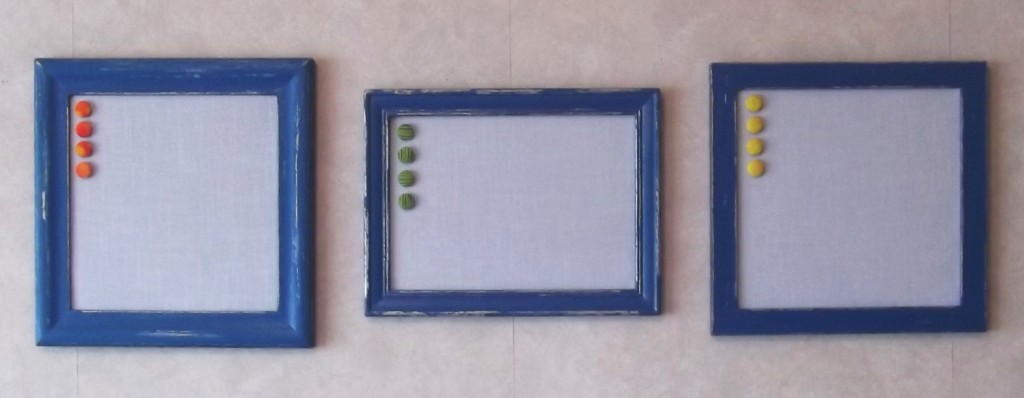
Surprisingly they weren’t too hard. I found some old frames at the second hand shop. I liked the distressed paint effect so searched the internet for some ‘How to Guides’ and got painting. The base colour I chose was a silver and the top coat a blue. I finished it off with a glaze that I made by watering down the sliver paint. This gave the finished paint job a shimmery look. Next we put the sheet metal into the frames. We had an old filing cabinet lying around so my husband kindly cut it into pieces to fit the frames. Because I wanted the metal to have a fabric finish to it, using a paint brush, I covered the metal pieces with PVA glue and stuck to it some white linen look fabric that I had got from the Dargaville Sewing and Curtain Centre. Then using some little nails I fitted the metal into place along with a cardboard backing. Lastly I covered the nails over with masking tape. The little magnets I made out of covered buttons and a magnetic strip from Spotlight.
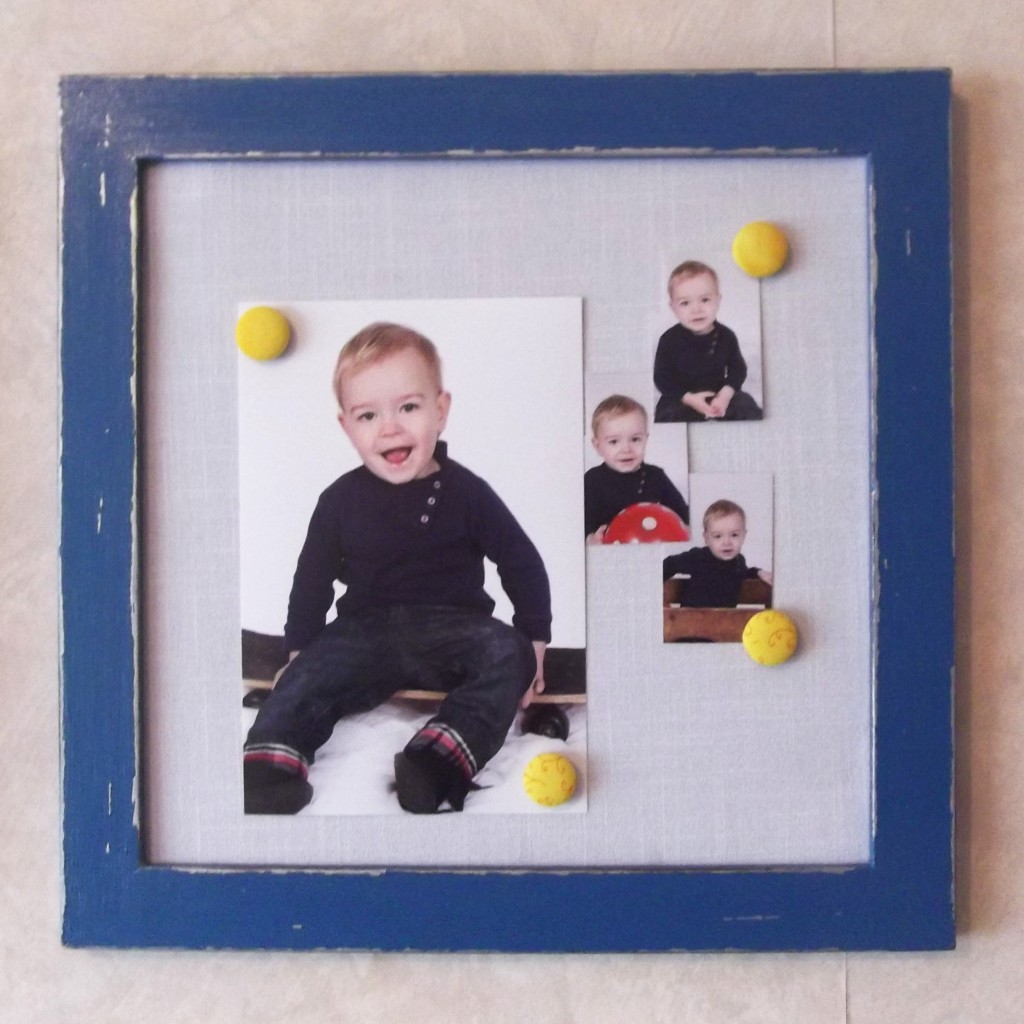
You could leave it there and give it as a gift or you could add a display of photos to give it that more personal touch. A display could be anything from just adding a few photos like this …

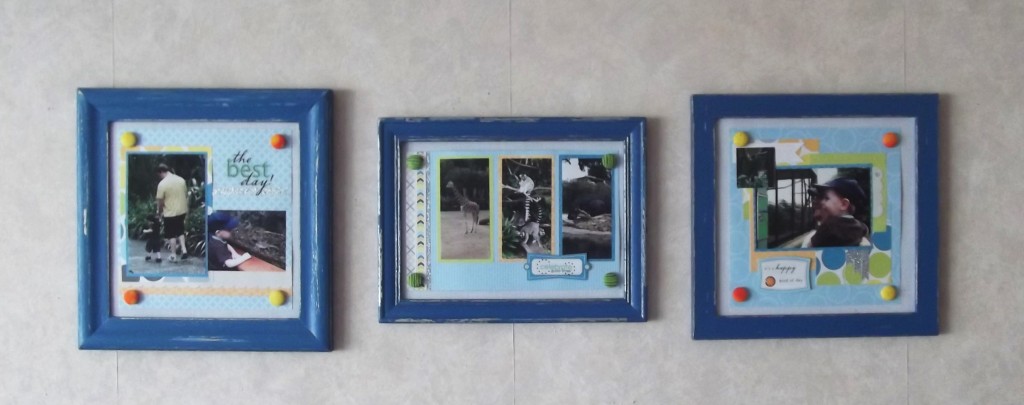
… or you if you enjoy scrapbooking it could look more like this …

… either way it looks fabulous.
If you have a go at making your own we are always excited to see the creativity of others so feel free to share in the comments section below.
