The White Stocking

12 Days of Christmas Ideas 2016 – Day 5
the-white-stocking

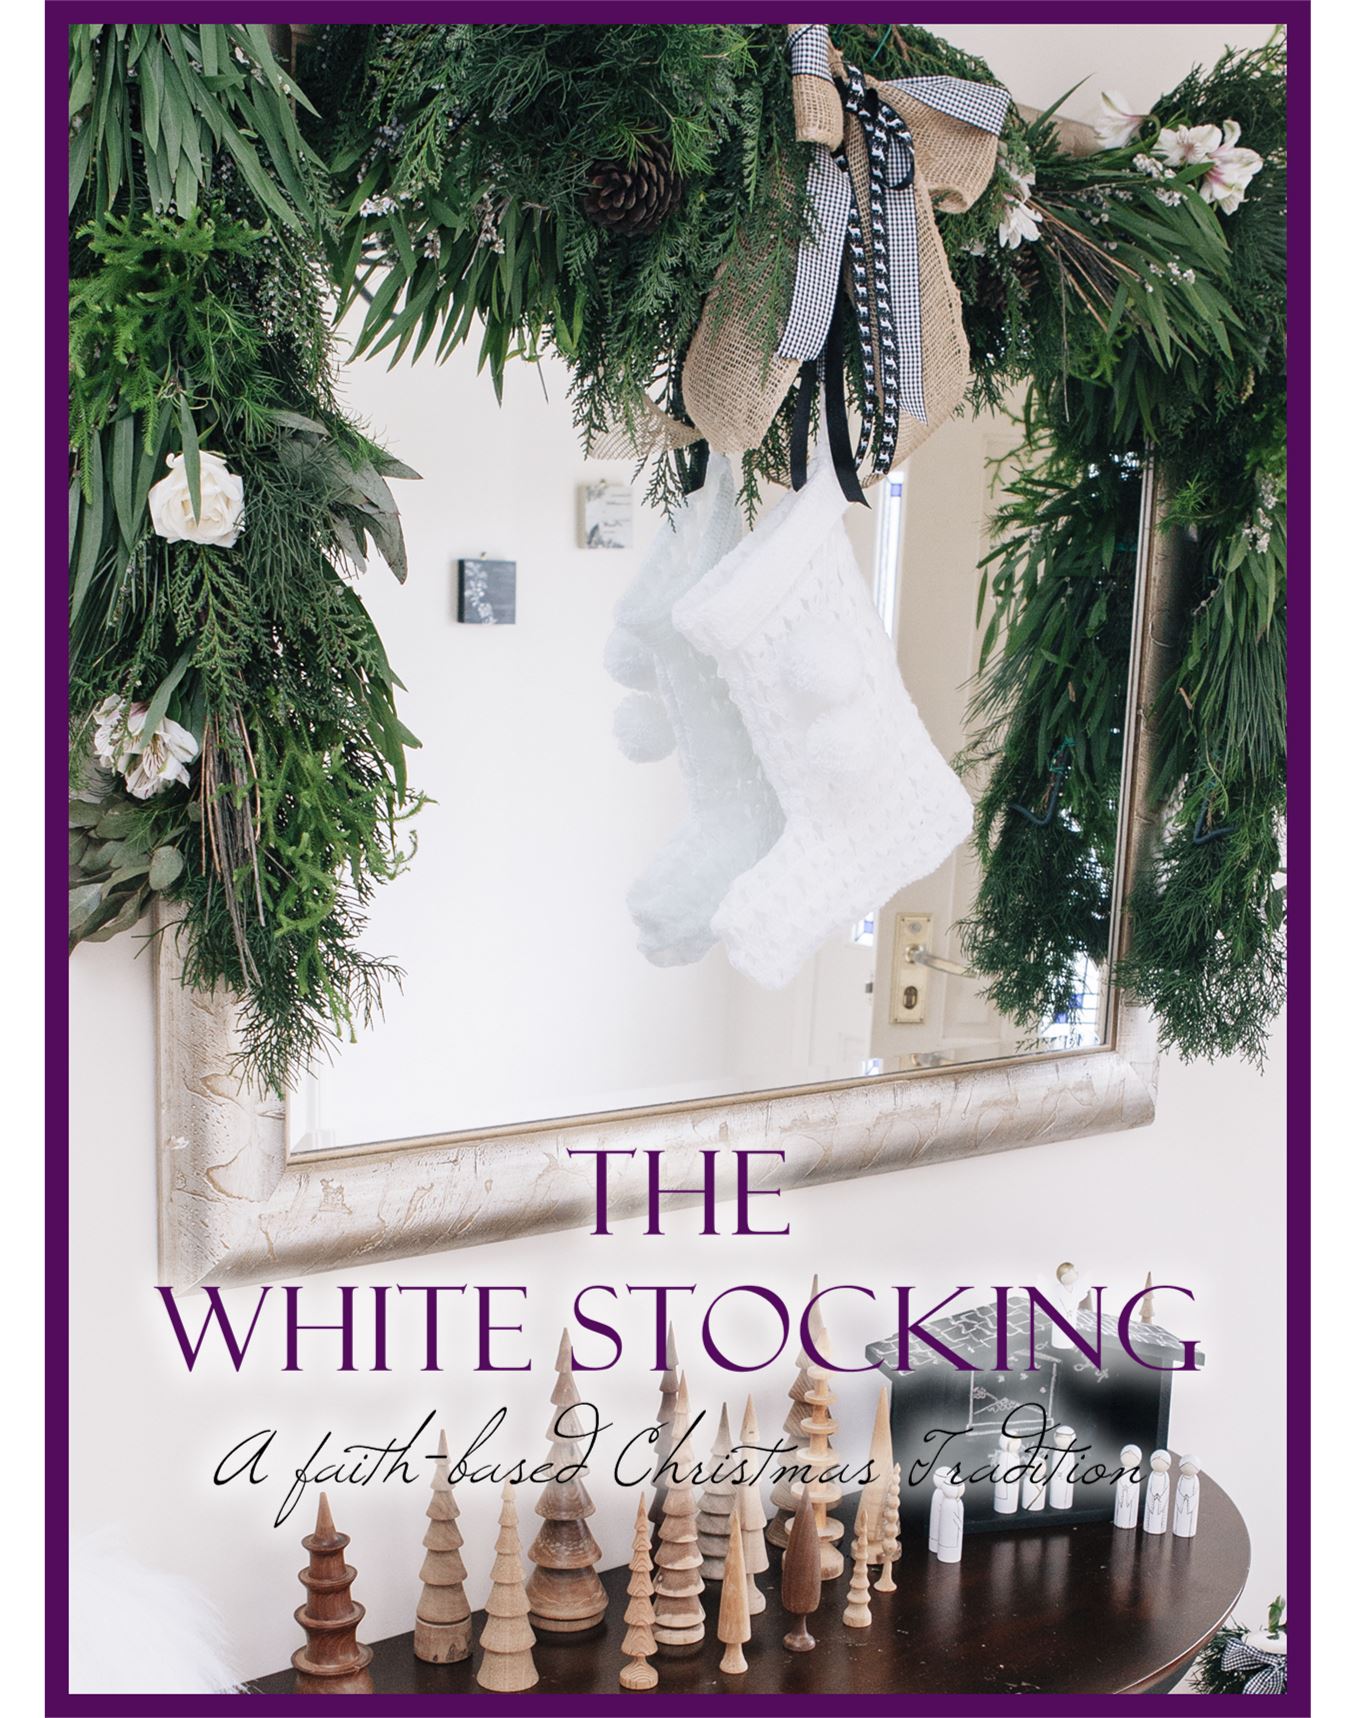
Each year as part of our ’12 Days of Christmas Ideas’ I like to include either a party plan or a Christmas tradition. I like the idea of starting my own family traditions, and since my son was born we have made more of an effort to do just that.  There’s nothing wrong with having traditions. For us traditions don’t eliminate spontaneity, but are simply another way of helping us celebrate. For me, it’s kind of like having a weekly routine – less stress is involved because you know what to do, how to do it and when to do it. The tradition of The White Stocking has been around for a number of years, and stems from an adaptation by a lady named Carolyn Cox of the poem ‘Twas the Night Before Christmas’  – which you can see here. I love this idea because it encourages us to take our eyes off ourselves and what we will get, so we can focus on others and what we can give.

Mother’s Day Activity for Little Bakers

This week I have found myself planning a Mother’s Day activity for a group of pre-schoolers. The plan is for the children to make and decorate their own individual cupcake for their Mum.

Mother's Day Activity for Children

While it may be considered ambitious by some, after a few trials I’m cautiously optimistic that these little bakers will succeed. And if you are brave enough to give it a go with your little ones here’s what we are going to do, along with some free printables for decorating the packaging.

I began with my favourite fudge cake recipe that I use all the time for cupcakes and broke it down to single serves.

Designer Christmas Crackers

12 Days of Christmas Ideas 2015 – Day 6

Homemade Christmas crackers have come a long way since I made them as a child out of crape paper and toilet rolls. I am super excited to share today’s idea with you as it is my first ever video tutorial! This idea also comes with 2 free downloads – the Christmas Cracker template and our Cracker Jokes.

Tip: When printing out your template, print onto paper that is slightly thicker than your ordinary photocopy paper (120gsm – 160gsm). You can also print directly onto scrapbook paper if you cut it to a size that will fit your printer.

Sign off


© 2015 As You Wish Events Ltd.  Want to use this article in your E-newsletter, blog, or website? You can as long as you include this complete statement: Auckland, New Zealand – Event Planner & Designer Nadine Crozier publishes the ‘As You Wish Events’ blog filled with secrets, tips and how-tos for planning your fabulous event. Get your exclusive inspiration, tips and tricks at http://www.asyouwish.co.nz.  As You Wish Events is an event planning and design company based in Auckland, serving the Auckland region and certain areas of Northland.

Homemade Play-dough Gifts

12 Days of Christmas Ideas 2014 – Day 2


The Playdough Packaged

I love homemade gifts.  To me they say “I thought of you and I took the time to make something that you would like”.  I recently planned a party that had play-dough as one of the activities.  I was reminded how novel it can be and how people of all ages will always take the opportunity to mould and shape all kinds of creations.  The other thing I was reminded of was how as parents we will often shy away from letting our little children play with it for fear that they will eat it and that the ingredients may not be safe for them to consume.

This is why I thought these homemade play-dough gifts are ideal.  The children can have all the joy of playing with the play-dough, and the parents can have piece of mind that the ingredients are safe should it end up in their children’s mouths.

Homemade play-dough is very easy to make, and so you can create your own play-dough gifts, I thought I would share with you my favourite play-dough recipe.  All the ingredients are available from your local supermarket, and are commonly used in baking, which is how we know it’s safe to eat.   However, because of the high salt content I would still discourage it.

Play-dough Recipe
  • 1 cup Salt
  • 2 cups Flour
  • 4 tsp. Cream of Tartar
  • 2 Tbsp cooking Oil
  • 2 cups of water
  • Food colouring

Place all of the ingredients into a large saucepan.  When it comes to adding the food colouring the more you add the more intense the colour will be.  I quite like the strong colours, so I usually add up to 2 teaspoons.  Just bear in mind that as you cook the dough the colour will deepen.  Mix all the ingredients together until it becomes a smooth paste and then place over a medium heat to cook it.  It is important to stir the mixture constantly – this helps to distribute the heat throughout the mixture and will also stop the dough from burning (Note: it is normal for some to stick to the bottom of the saucepan).  As it cooks the mixture will start to stiffen and the colour will deepen.  You will know it’s is ready when it clumps into one big ball, and doesn’t stick to you when you touch it – this usually takes 3-5 minutes. I then turn the play-dough out onto a hard surface and knead it for a bit to insure an even consistency.  It will be quite warm but it is not likely to burn you.  This play-dough will last for months & months, as long as you keep it in an air-tight container.

The Playdough Process

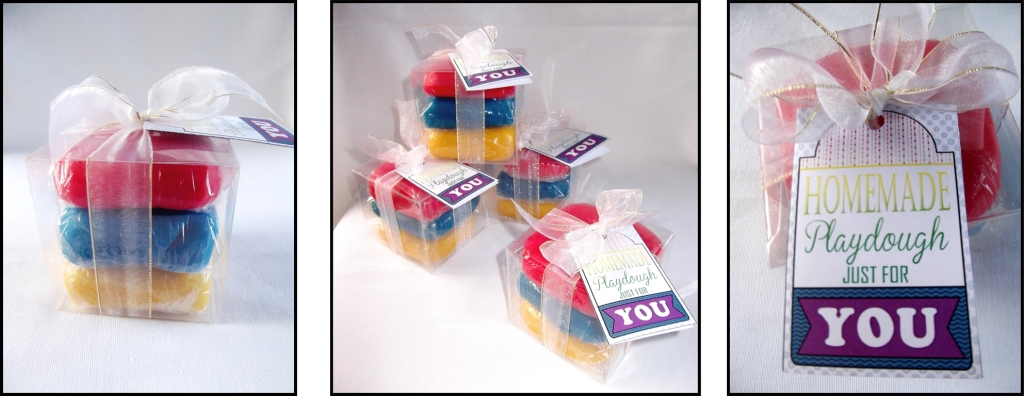
To make the gifts I chose to make 3 batches of play-dough in primary colours.  I figured the play-dough could then be mixed together to make other colours.  I then cut a piece from each colour, wrapped it in plastic-wrap (to keep it air-tight) and layered them into a 8cm x8cm clear cupcake box.  I then finished it off by tying it with a white organza ribbon and adding a rainbow coloured gift card that I designed.  This amount of dough easily makes 6 gifts of this size.  And if you decide to make your own and would like to use our gift cards you can download them here for free.

 Playdough Gift Card Download Here


I hope you enjoy making your own play-dough, whether its for Christmas gifts, party favours or even just as a holiday activity.  If you have any questions or comments we’d love to hear from you.  You can either leave a message in the comments box below, email us or join us on our Facebook page.


Sundae Buffet

12 Days of Christmas Ideas – Day 12

Well here we are – Day 12 of ’12 Days of Christmas Ideas’.  So many ideas to choose from yet somehow I managed to whittle it down to 12 of my favourites.  Today’s idea is not only a favourite of mine, but a favourite with everyone whenever I set one up.  It is the Sundae Buffet.  Plus with today’s idea we are offering a free download of Christmas tags and buffet labels.

Sundae Buffet for Christmas Day

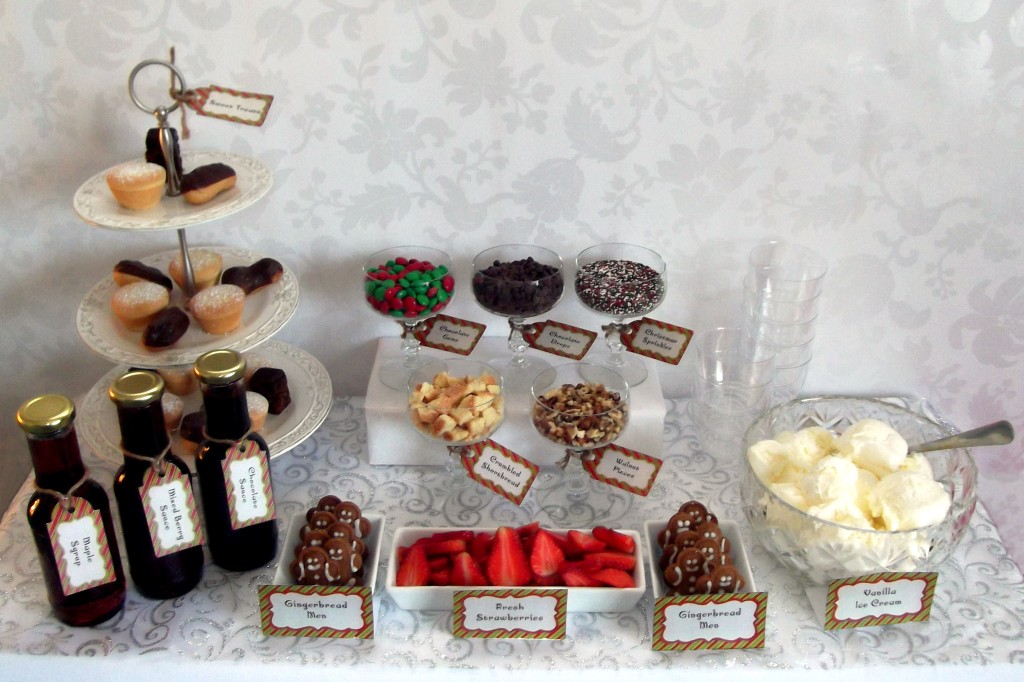
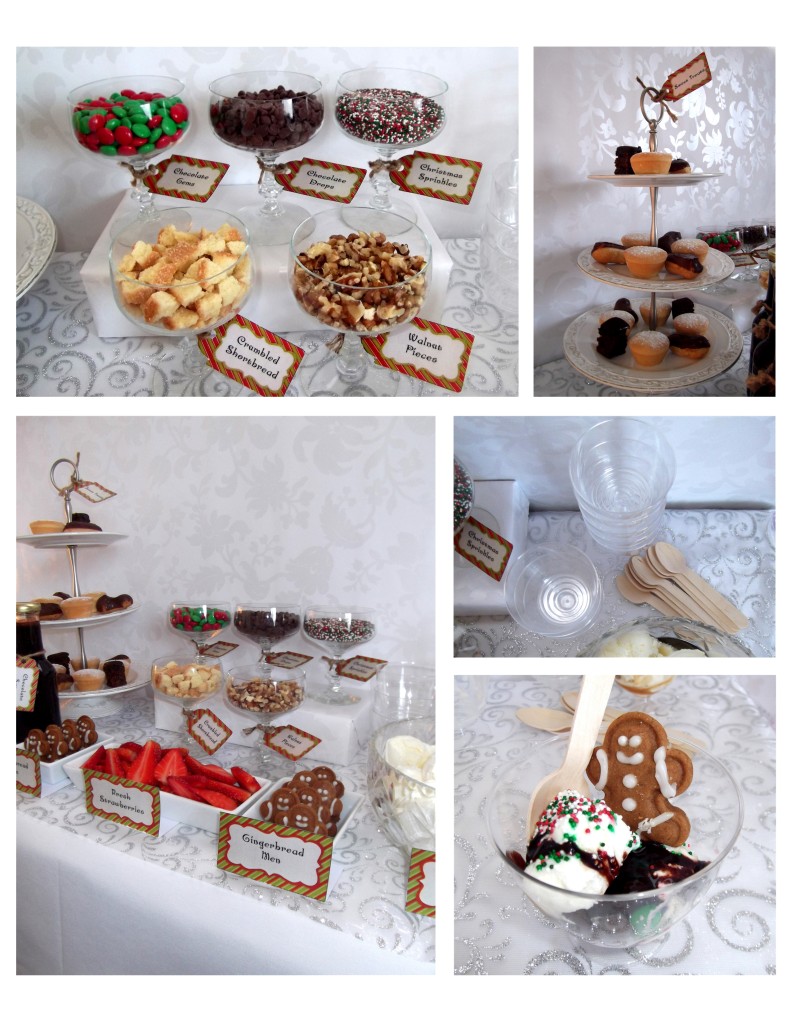
I have done Sundae Buffets for a few years now and whether its for children or adults they always prove to be popular.  Being that Christmas Day can often be a hot one here in New Zealand I thought it would be great to create one that is very Christmassy and will go well along side Christmas Dinner.  A simple solution to dessert – they are fairly easy to set up and most of the prep-work can be done well in advance.  Not only that they look incredible!

For this Sundae Buffet I have used dishes that I have collected over the years (mostly from my grandmothers when they cleaned out their china cabinets), but you can use anything to hold your toppings.  It doesn’t need to be a great expense. I’ve seen people use paper bags and terracotta pots.  I suggest you look around your home and see what you have available.  If you decide you do need to buy some dishes try the second hand shops, they often will have a variety of suitable dishes.

Sundae Buffet Topping Ideas

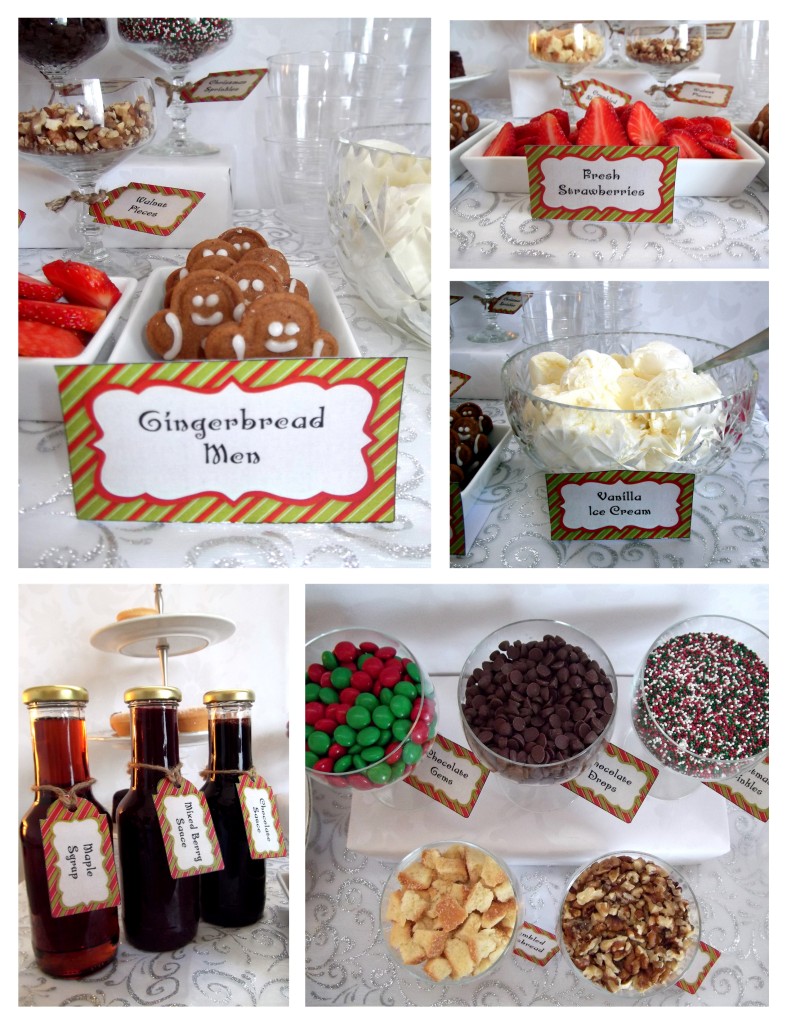
It’s so easy to get carried away with the number of toppings you add to a Sundae Buffet.  Keep in mind that a little can go a long way. I always like to start with either Vanilla or French Vanilla Ice cream, that way it keeps the toppings as the main feature and flavour.  I then work at having a selection of toppings from the following categories: Sprinkles; Sauces; Fruit (Fresh or Frozen) and Sweet Treats.  Depending on the occasion I might add a few extras – for example being that this Sundae Buffet was a Christmas theme, I added the little Gingerbread Men.

For the sprinkles I started with the chocolate drops, then chopped up some shortbread biscuits and walnuts.  I also decided I just had to have some Christmas coloured candies and 100s and 1000s.  I found an online candy store (based in NZ) called Crazy Candies.  Their candies are sorted by colour which meant I could easily find what I wanted. I ended up buying one pack of their red chocolate gems and one pack of their green chocolate gems.  I was very impressed with their service and how quickly they delivered.  To get the mix of 100s and 1000s that I wanted I ended up buying one packet of each colour and mixing them myself.  I got mine from an awesome little cake decorating shop in New Lynn, Auckland called Miss Bon Bon.  If you do plan to visit, try and go on a Friday as it is cupcake day and they are just divine.  You can place orders with them over the phone if you live further afield. Alternatively Pretty Baker have a good online store that also supply these.

For the sweet treats you can have anything you fancy.  I like to keep them bite size since it’s it really just about having a taste and you don’t want them to take up the entire sundae cup.  For this Christmas theme I went for mini Christmas mince tarts, Christmas cake and mini chocolate éclairs.  For the Sauces I always feel that 3 is a good number – in this case I choose Maple Syrup,  Homemade Mixed Berry Sauce and Homemade Chocolate Sauce.  Lastly I added in the fresh Strawberries.

Sundae Buffet Topping 2

Once you have your toppings all sorted it’s just a matter of setting it up, putting out the sundae dishes ( I suggest using small ones – people can always come back for seconds) and adding the buffet labels.  You can either make your own our download our editable designs.

Download Christmas 2013 Tags & Buffet Labels

So that brings us to the end of our ’12 Days of Christmas Ideas’.  We’d love to hear your feedback about any of the ideas and if you decide to try out any for yourself we’d love to hear how you got on.

Merry Christmas, may your countdown to Christmas 2013 be creative, low-stress and most of all enjoyable.

Mug Cookies in a Jar

12 Days of Christmas Ideas – Day 6

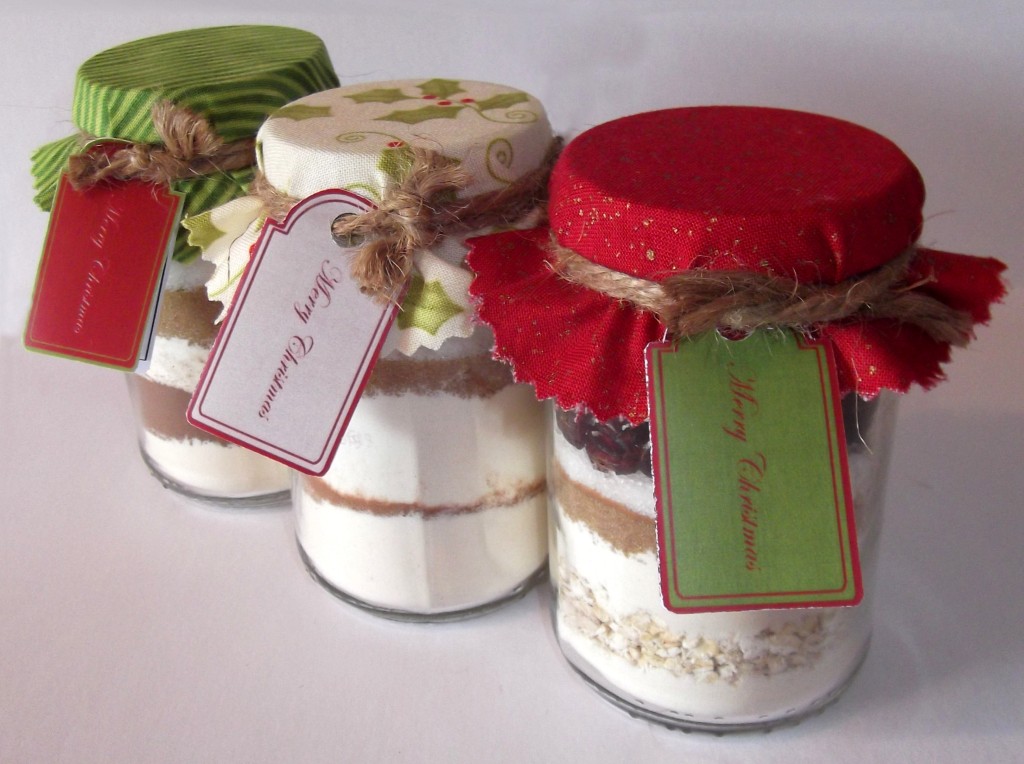
Earlier this year I was introduced to the marvellous idea of a ‘Brownie in a Mug’.  While they aren’t good for slimming the waistline, they sure do hit the spot when you’re craving something sweet and don’t have the time to bake a whole cake.   Now, as I often do when discovering a new baked item, I set out in search of the perfect recipe for this delectable dessert.  Along the way I discovered a number of recipes for cookies in a mug.  This got me to thinking – “Can I make these into mini versions of the ‘Cookies in a Jar’ idea?”  After a number of trails and the adaptation of a variety of recipes I came up with three recipes for ‘Mug Cookies in a Jar’, which is the Christmas idea I wish to share with you today.
Mug Cookies in a Jar

Mug Cookies in a Jar


Hootycreek Cookie in a Mug

1. Layer the ingredients in a 170g jar in the order they are listed below:

  • 3 tsp of Flour
  • Pinch of Salt
  • 2 Tbsp of Rolled Oats
  • 2 tsp of Flour
  • 1 Tbsp Brown Sugar
  • 1 tsp of Cinnamon
  • 1 Tbsp of White Sugar
  • A layer of Cranberries
  • A layer of White Chocolate Chips
  • A layer of Pecan Nuts chopped.

2. Attach tag with the following instructions:

Place 1 Tbsp of butter in a mug and melt in the microwave for 30 seconds on High. Add the contents from the jar, mix a little before adding 1 egg yolk, 2-3 drops of vanilla and 1 Tbsp of water.  Mix until fully combined.  Cook in the microwave on high for 1 minute.

Rainbow Button Cookie in a Mug

1. Layer the ingredients in a 170g jar in the order they are listed below:

  •  5 tsp of Flour
  • 1 tsp of Cinnamon
  • 4 tsp of Flour
  • Pinch of Salt
  • 1 Tbsp Brown Sugar
  • 1 Tbsp of White Sugar
  • A layer of Candy Coated Chocolate buttons (e.g. M&Ms, Pebbles or Smarties)

2. Attach tag with the following instructions:

Place 1 Tbsp of butter in a mug and melt in the microwave for 30 seconds on High. Add the contents from the jar, mix a little before adding 1 egg yolk, 2-3 drops of vanilla and 1 Tbsp of water.  Mix until fully combined.  Cook in the microwave on high for 1 minute.

Sand Art Brownie in a Mug

1. Layer the ingredients in a 170g jar in the order they are listed below:

  •  4 tsp of Flour
  • 2 Tbsp of Cocoa
  • 5 tsp of Flour
  • Pinch of Salt
  • 6 tsp Brown Sugar
  • Pinch of Cinnamon
  • 3 tsp of White Sugar
  • A layer of Candy Coated Chocolate buttons (e.g. M&Ms, Pebbles or Smarties)
  • A layer of Walnuts chopped

2. Attach tag with the following instructions:

Place the contents of this jar in a mug.  Add 1/4 cup of water, 2 Tbsp of oil and 1-2 drops of vanilla.  Mix together well.  Cook in the microwave on high for 1 1/2 minutes.


I found that the best jars to use were the 170g Baby food jars.  Putting these through the dishwasher does a good job of removing the label, although sometimes there are still a few glue marks left.  I found that with a little scrub using a pot scrubber or by rubbing the marks with  Eucalyptus oil on cloth.  Pak ‘n Save sell Eucalyptus Oil in their first aid section, most pharmacies sell it too but it does tend to be more expensive.
Mug Cookies in a Jar Step-by-Step

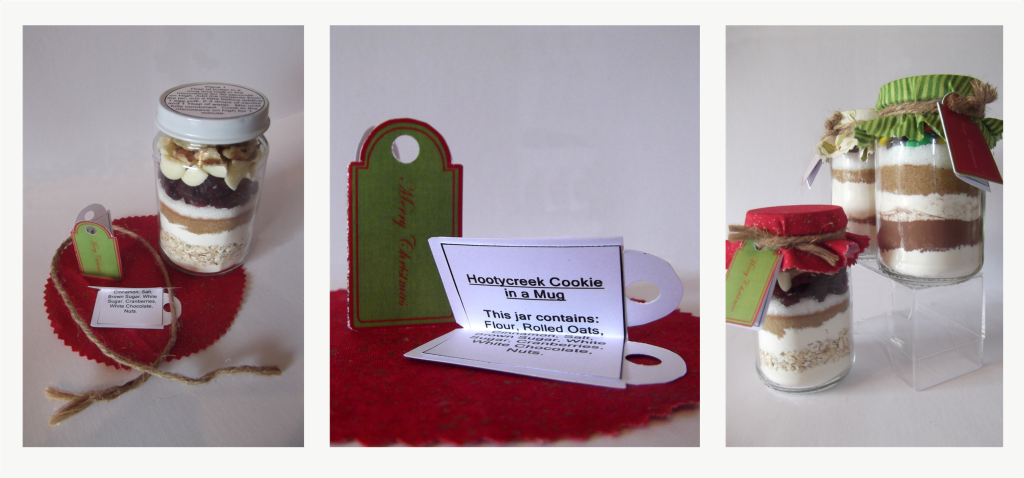
After packing the ingredients into the jar I decorated it using a circle of fabric tied over the lid and by adding the instructions and ingredient tags.  These printable tags are available here as a free download.

Download Mug-Cookies-In-A-Jar printables

I love this idea as it can be used as a small gift on its own, as a party favour or as a unique addition to a gift basket.  I hope you like it too and have a go at making some yourself.