12 Days of Christmas 2014 – Day 9
Recently I went to Spotlight and purchased one of those jumbo pads of 12 x12 Christmas Scrapbook paper. My plan was to see how many Christmas decorations I could make using just that pad. After try all sorts of paper craft ideas I settled on three favourites that I would like to share with you as our 9th Christmas idea for 2014.
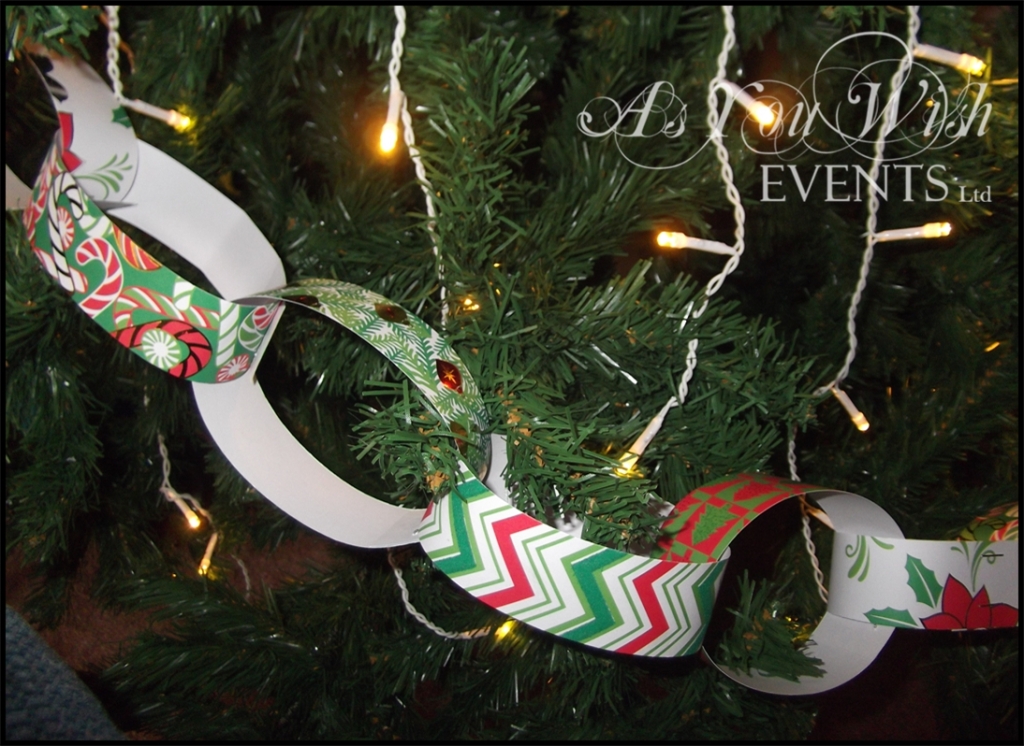
1. The Paper Chain
 It’s an oldie but a goodie. In fact I have vague memories of making these in primary school. Super simple to make and a great craft to do with the kids. For those who never had the opportunity of making them as a child, all you need to do is cut a bunch of strips of paper all the same size, take one strip and make it into a ring shape then secure it with a couple of staples. Then thread a second strip though the first as you make that one into a ring and then secure it with a couple of staples. Keep repeating the process until you are happy with the length of your chain. If your children are a little older and can handle a stapler on their own you could even make it into a competition to see who can make the longest chain.
2. Stitched Paper Garland
These days the sewing machine can be used for more than just fabric. I love these stitched paper garlands. They can be used in a variety of ways too. You can hang them from the ceiling or on your Christmas tree, use it in your gift wrapping, they can even be used as an embellishment on your scrapbook pages. While I wouldn’t recommend this as one for the kids to make on their own, it is still rather simple. You’ll need a sewing machine, thread, paper and a shape punch (as you can see, I chose to use a circle punch). First punch out heaps of shapes from your paper. If your paper is white on one side and patterned on the other and you want to make your garland double sided you’ll need twice as many shapes. Thread up the sewing machine and begin sewing straight through each shape. If you are going for the double sided option you’ll need to put two shapes back to back before sewing them. I counted about 5-6 stitches before putting the next shape into the machine to create the gap.
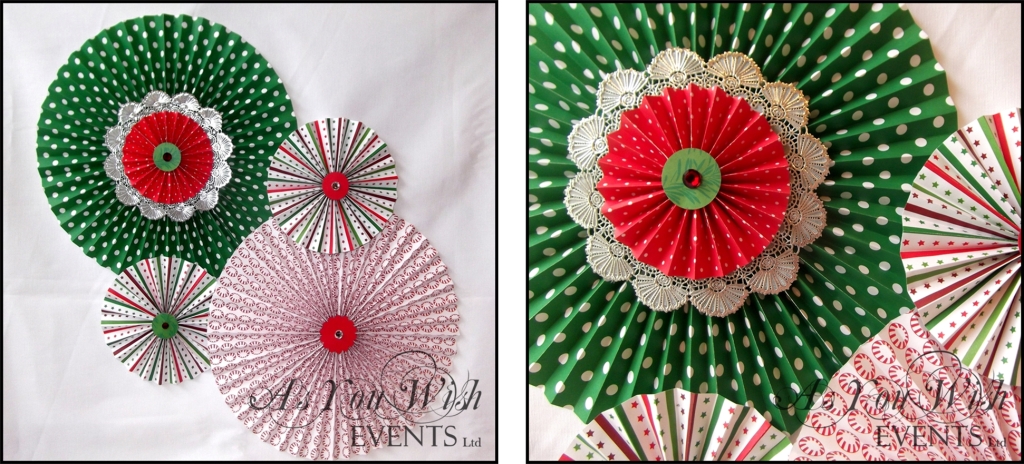
3. The Paper Rosette
These are my absolute favourite. They are the most difficult to make but they look amazing when arranged together on a wall or around a doorway. If you are going to attempt these I highly recommend buying a Scoring Board as they making the folding process so much quicker. You can buy these through a Close to My Heart Consultant or at most Spotlight stores. What I thought looked extra awesome was layering a couple of different sizes together and inserting a paper or plastic doily in between to make a more complex rosette. I found this excellent tutorial on You Tube that taught me all I needed to know about making these fabulous rosette decorations.
I hope this inspires you for your Christmas décor.


