12 Days of Christmas Ideas – Day 7
Today we are so excited to have guest bloggers, Adam & Kirsten from WonderFerris, sharing some great tips and hints for taking your own festive family photos. I know you will find this super helpful as we enter the festive season.
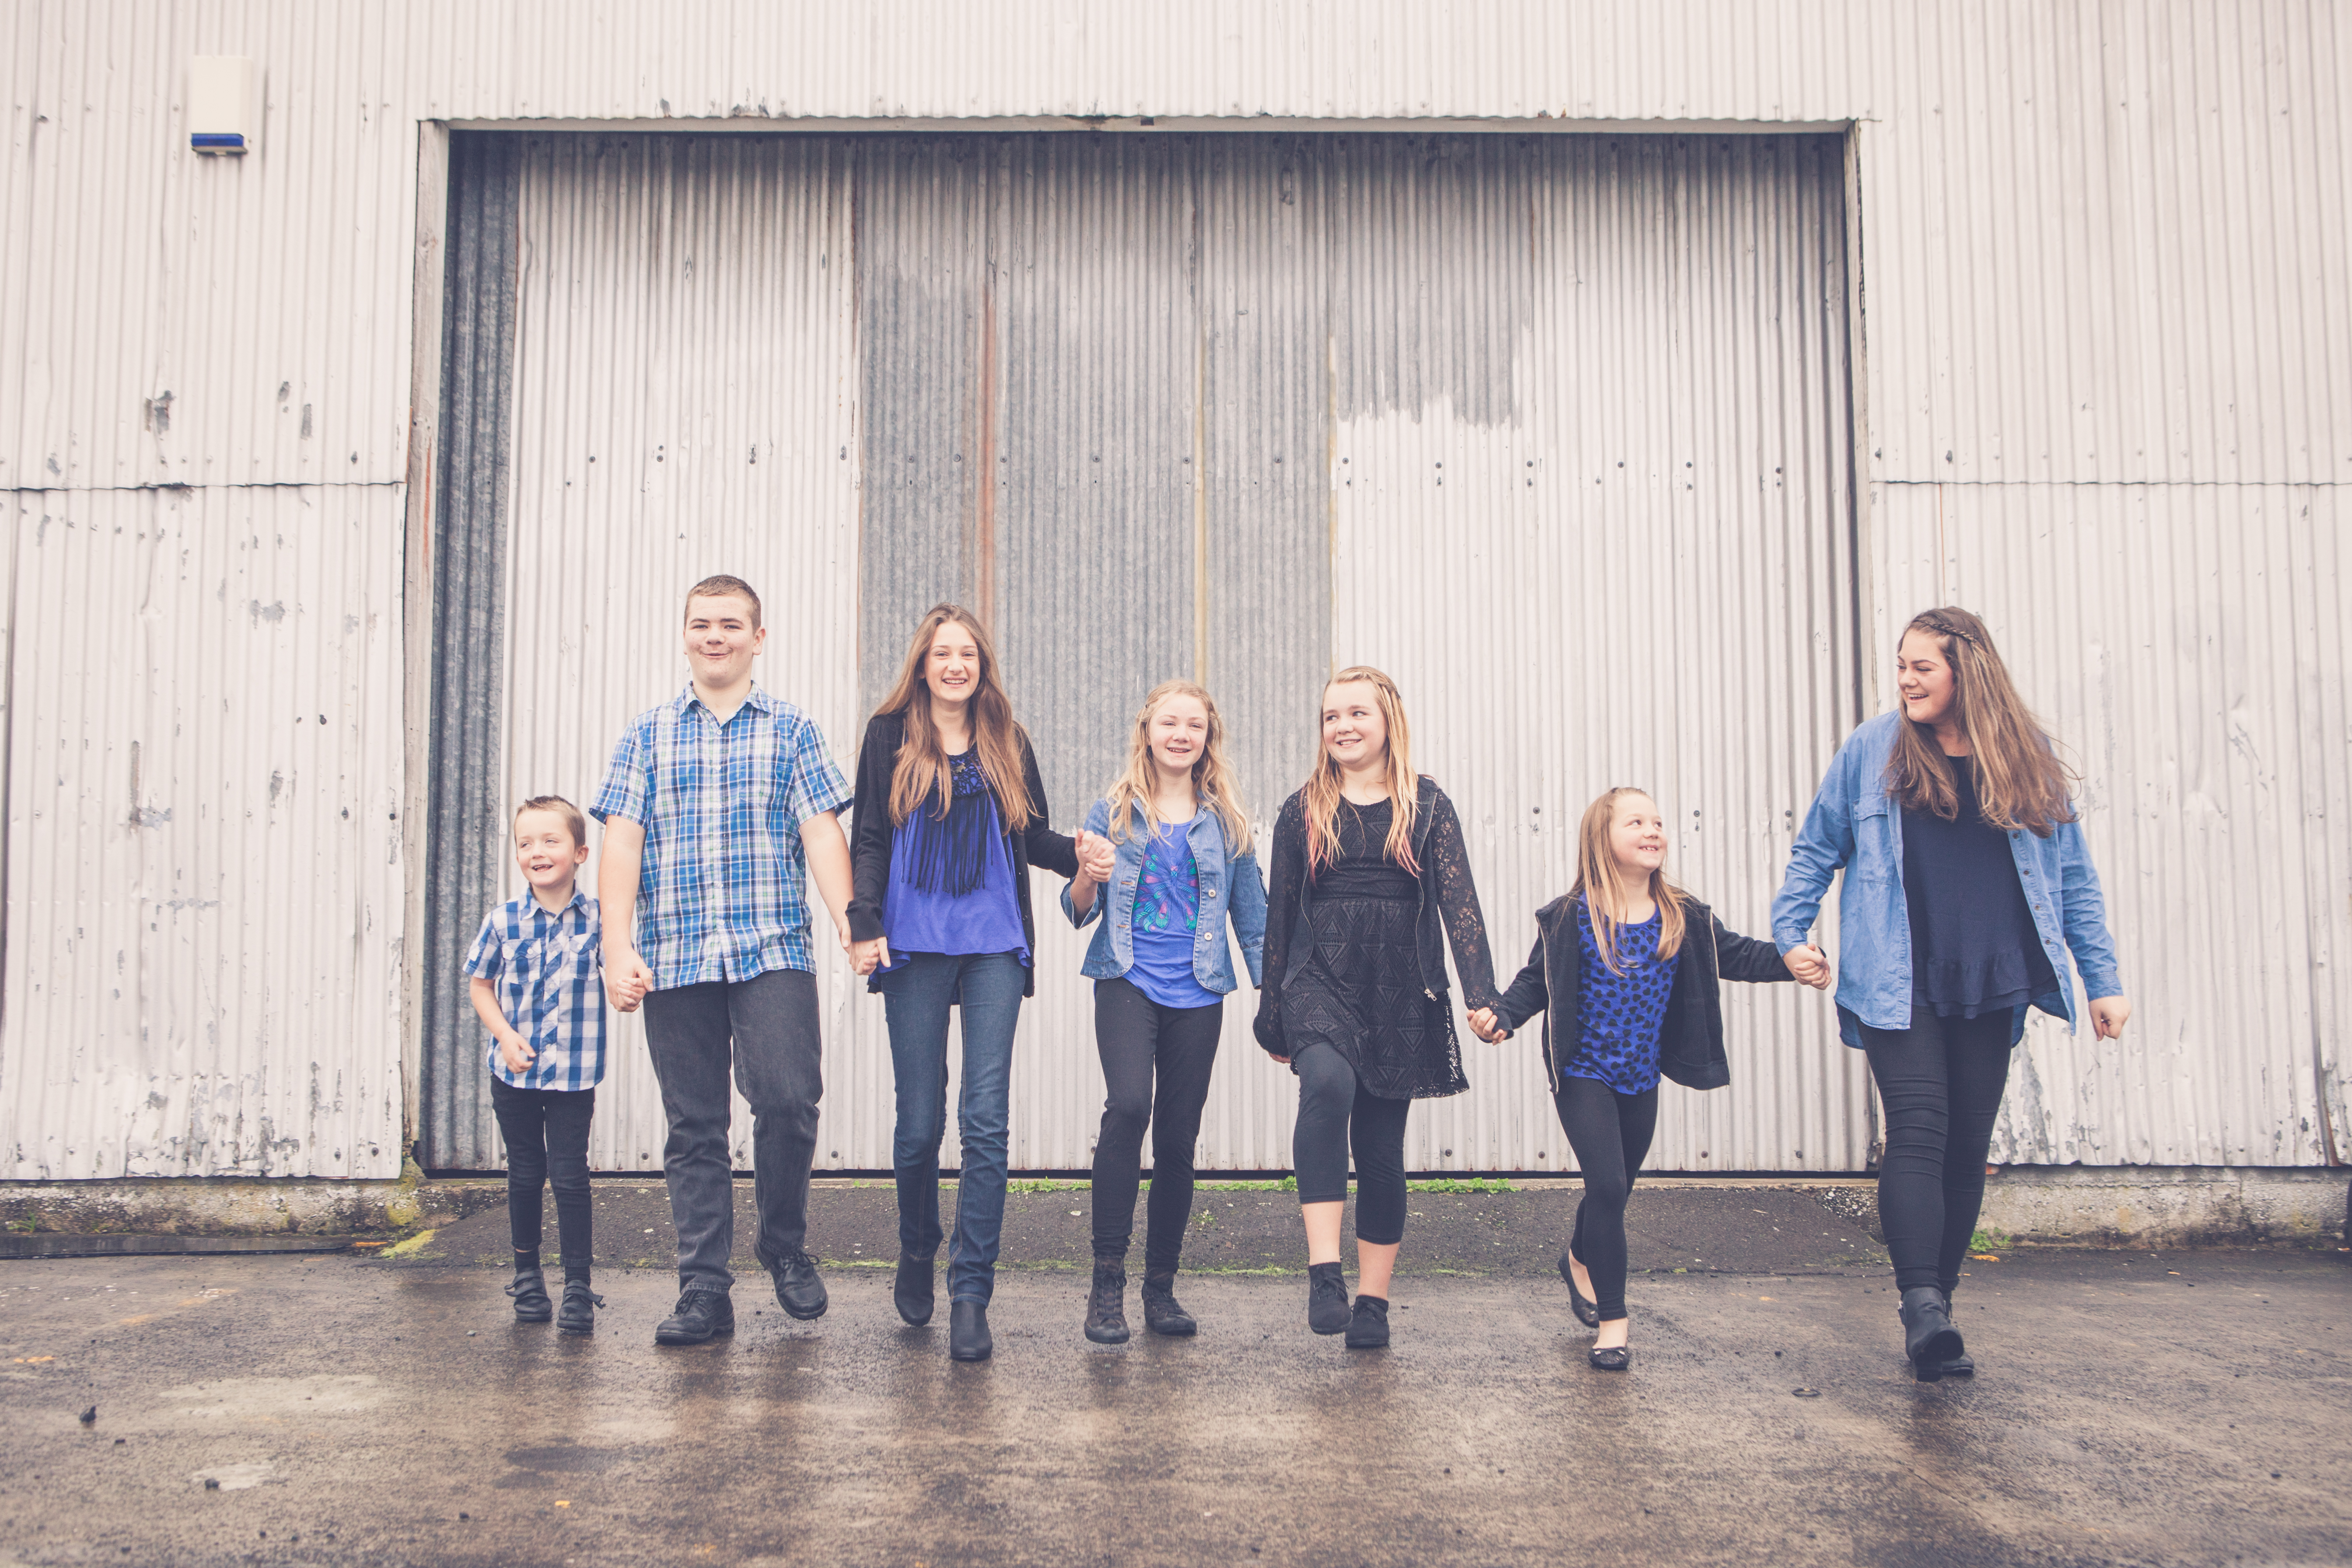
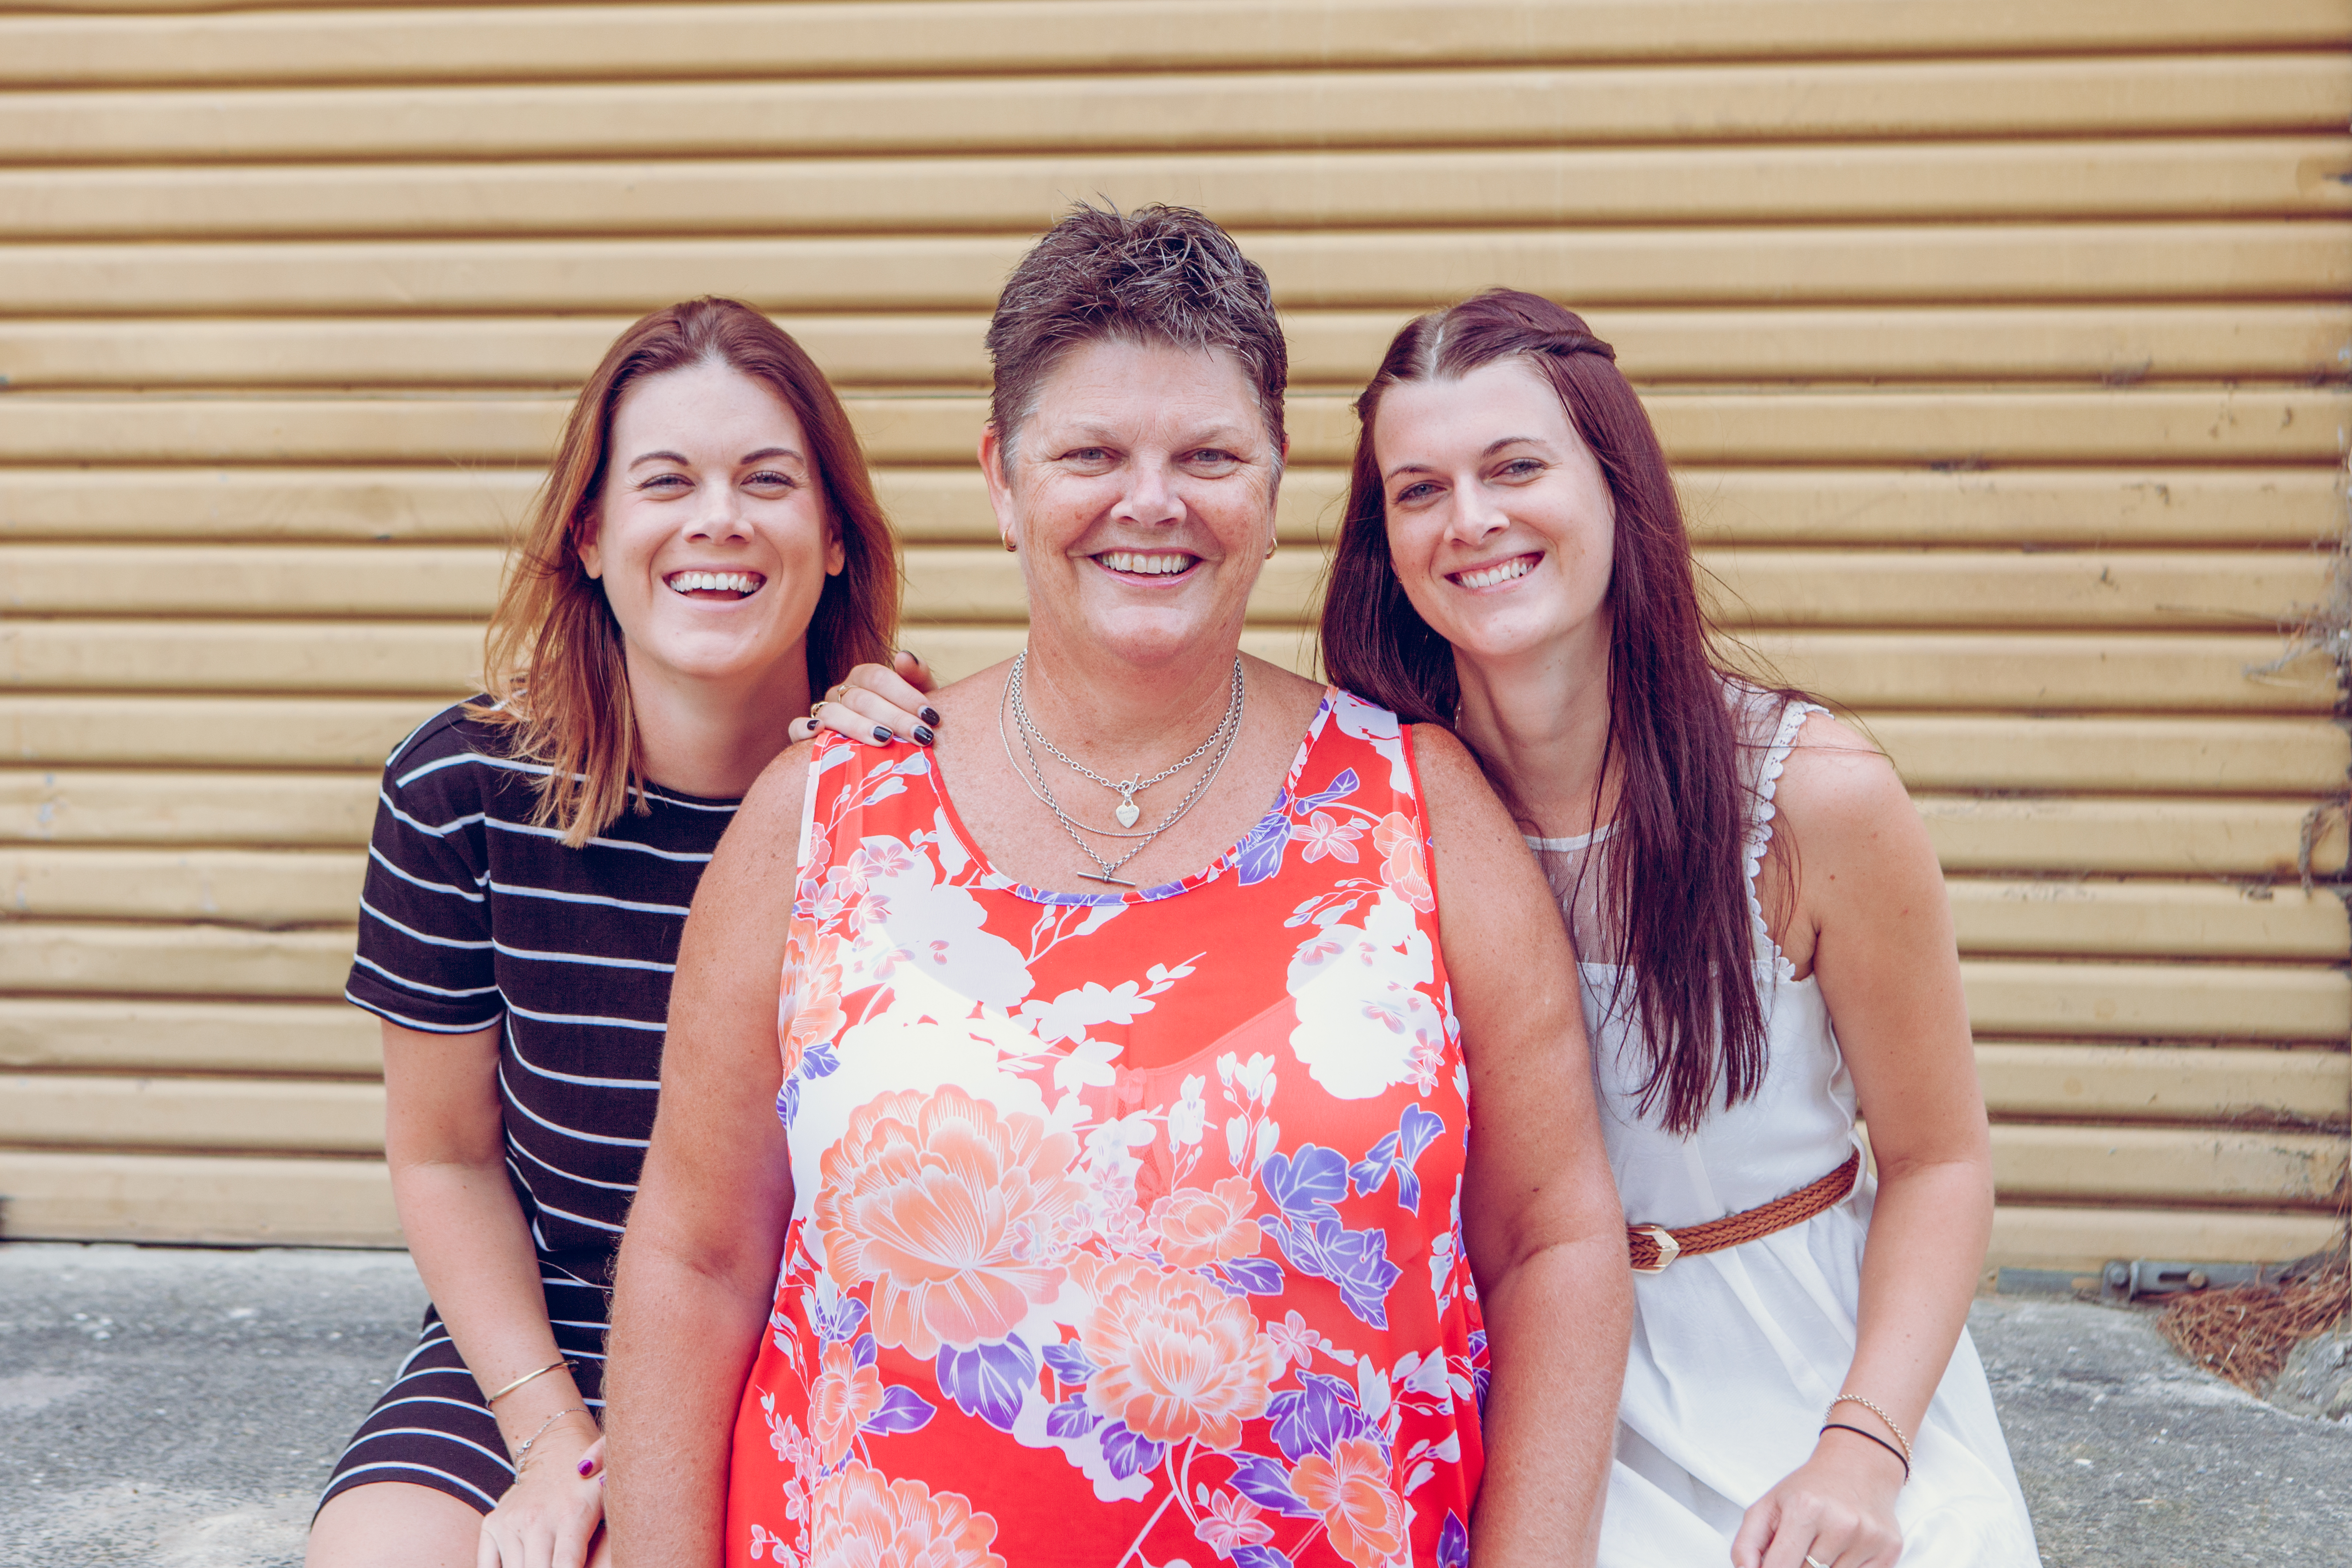
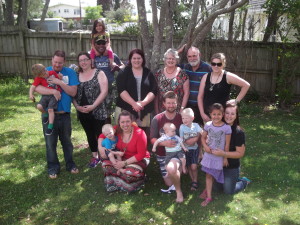
With the holiday season comes a chance to update those family portraits! Whether it be candid moments caught while the kids unwrap their Christmas gifts or play with their new Nerf guns, or if it be those posed family portraits where you try to scramble everyone together before their Christmas day outfits get worn by the chaos of festivities, we always want to look our best! Often it can feel stressful trying to get that perfect family shot, but never fear, we have some handy tips to help make that experience a little more fun!
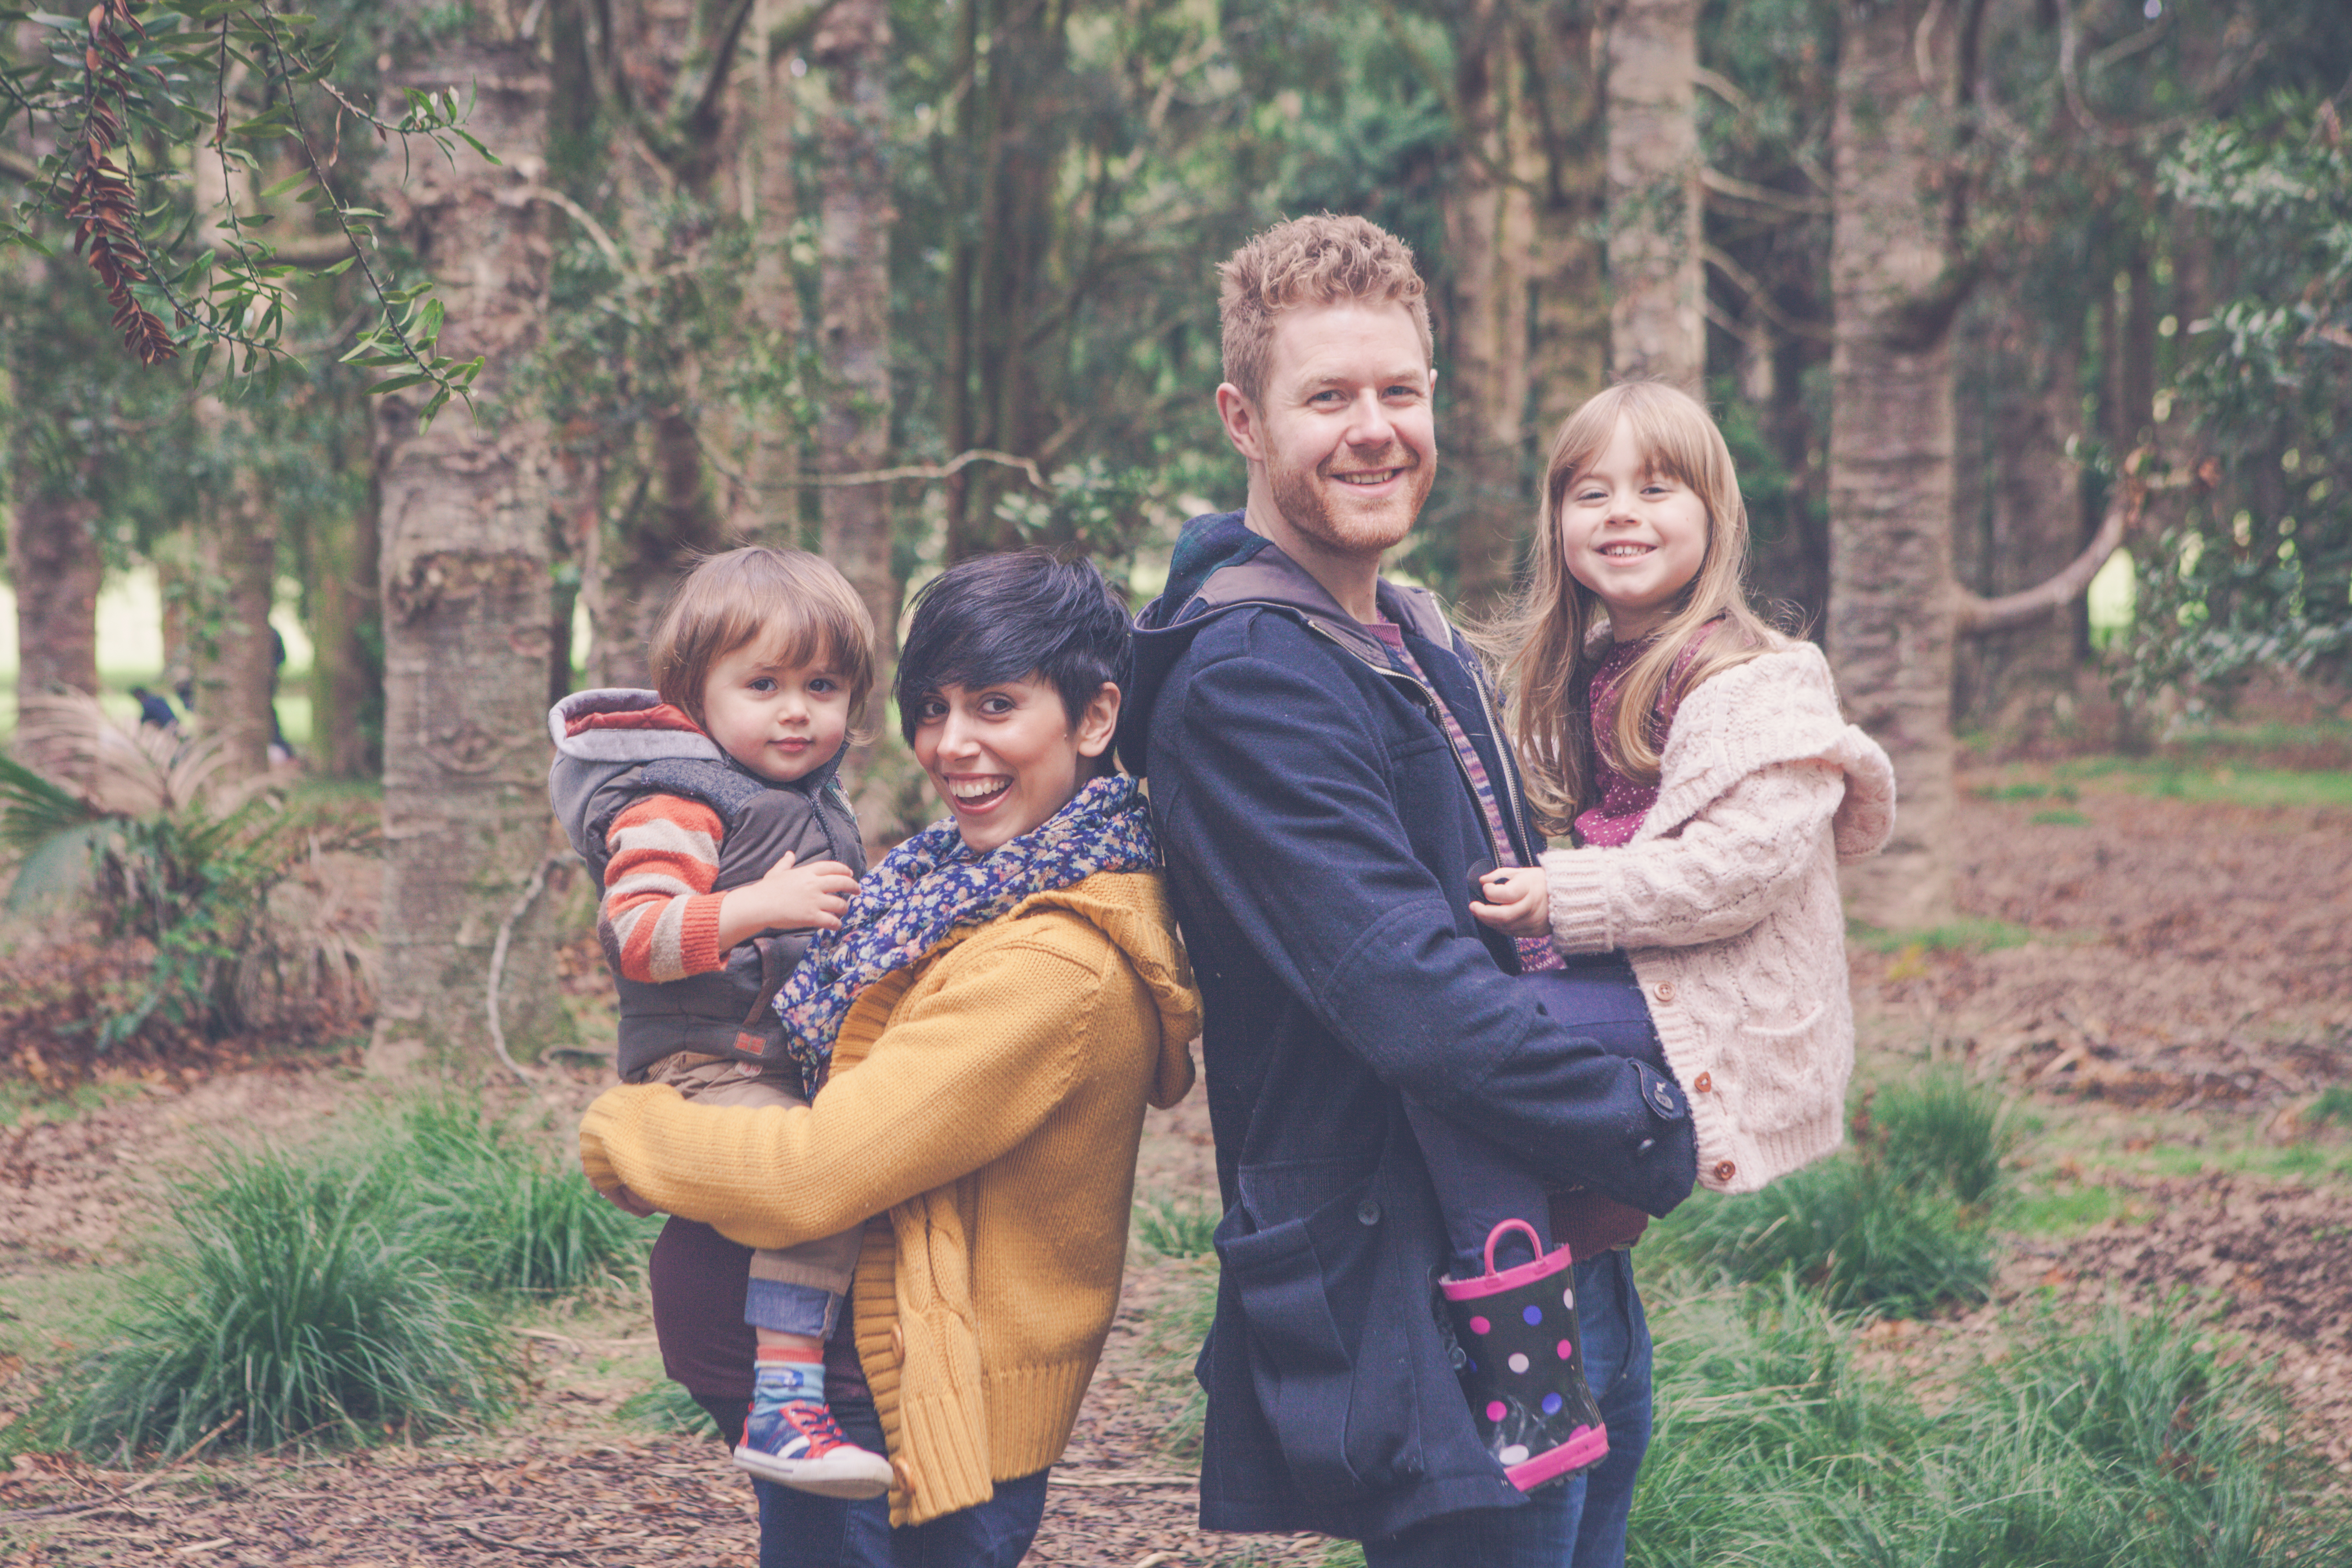
Tip Number One: DIY Tripod! This was the first thing I ever learnt when it came to taking family photos! As difficult as it is to shot and be in the shoot at the same time it really isn’t a proper family photo unless the WHOLE family is in the shot! Tripods are perfect to solve this! But if you don’t have a tripod, it’s time to get creative. A flat surface will do the trick, whether a bar stool, outdoor chair, dining room table (or if you’re feeling extra dedicated, a ironing board like I did for many years!) find your DIY tripod, setup the timer for 10 seconds and say cheese! A family portrait with the entire family! A perfect way to start the festivities! Note: always make sure the camera is secure or nicely weighted down before jumping into the shot!
Hints: getting your family in a straight line to ensure all will be within the depth of field/in focus, and once putting the camera in a secure place turning it to manual focus so as not to lose your focus point if taking multiple shots (cause lets face it once is never enough).
Tip Number Two: If you’re outside, in the middle of a hot, summery Kiwi christmas, seek shade! Not just for the sake of Sun safety which is super important during the festive season, but because full sunlight can make things a lot more complicated than it needs to be! (heavy shadows, squinted faces, not ideal!) The best place to find shade at home is in the house or decks shadow or under a big, beautiful tree! One other tip for outdoor photos is, if you can’t find any shade, shoot in the morning, or an hour or two before sunset so the light is less harsh and, if you’re lucky, soft and magical!
Hint: If no shade is conveniently presented you can try using a front on flash as a fill light to minimize shadow. Also placing your subject/s facing away from the sun or side on to reduce squinting.
Tip Number Three: If you’re photographing your family portrait inside, please, PLEASE, avoid using flash! Find somewhere with natural light! Usually next to a window is fine! The best backgrounds at home are the most simplest. Try and avoid all the Christmas chaos, unless that is the look you’re going for! 😉 We often jump in front of one of our big plain walls or gather on the sofa. Another handy tip is to never stand right up against the background you are shooting in front of (this applies for outdoor portraits too!) Stand about a half a metre minimum in front of your background to create a nice depth of field, making your family portrait a little more beautiful!
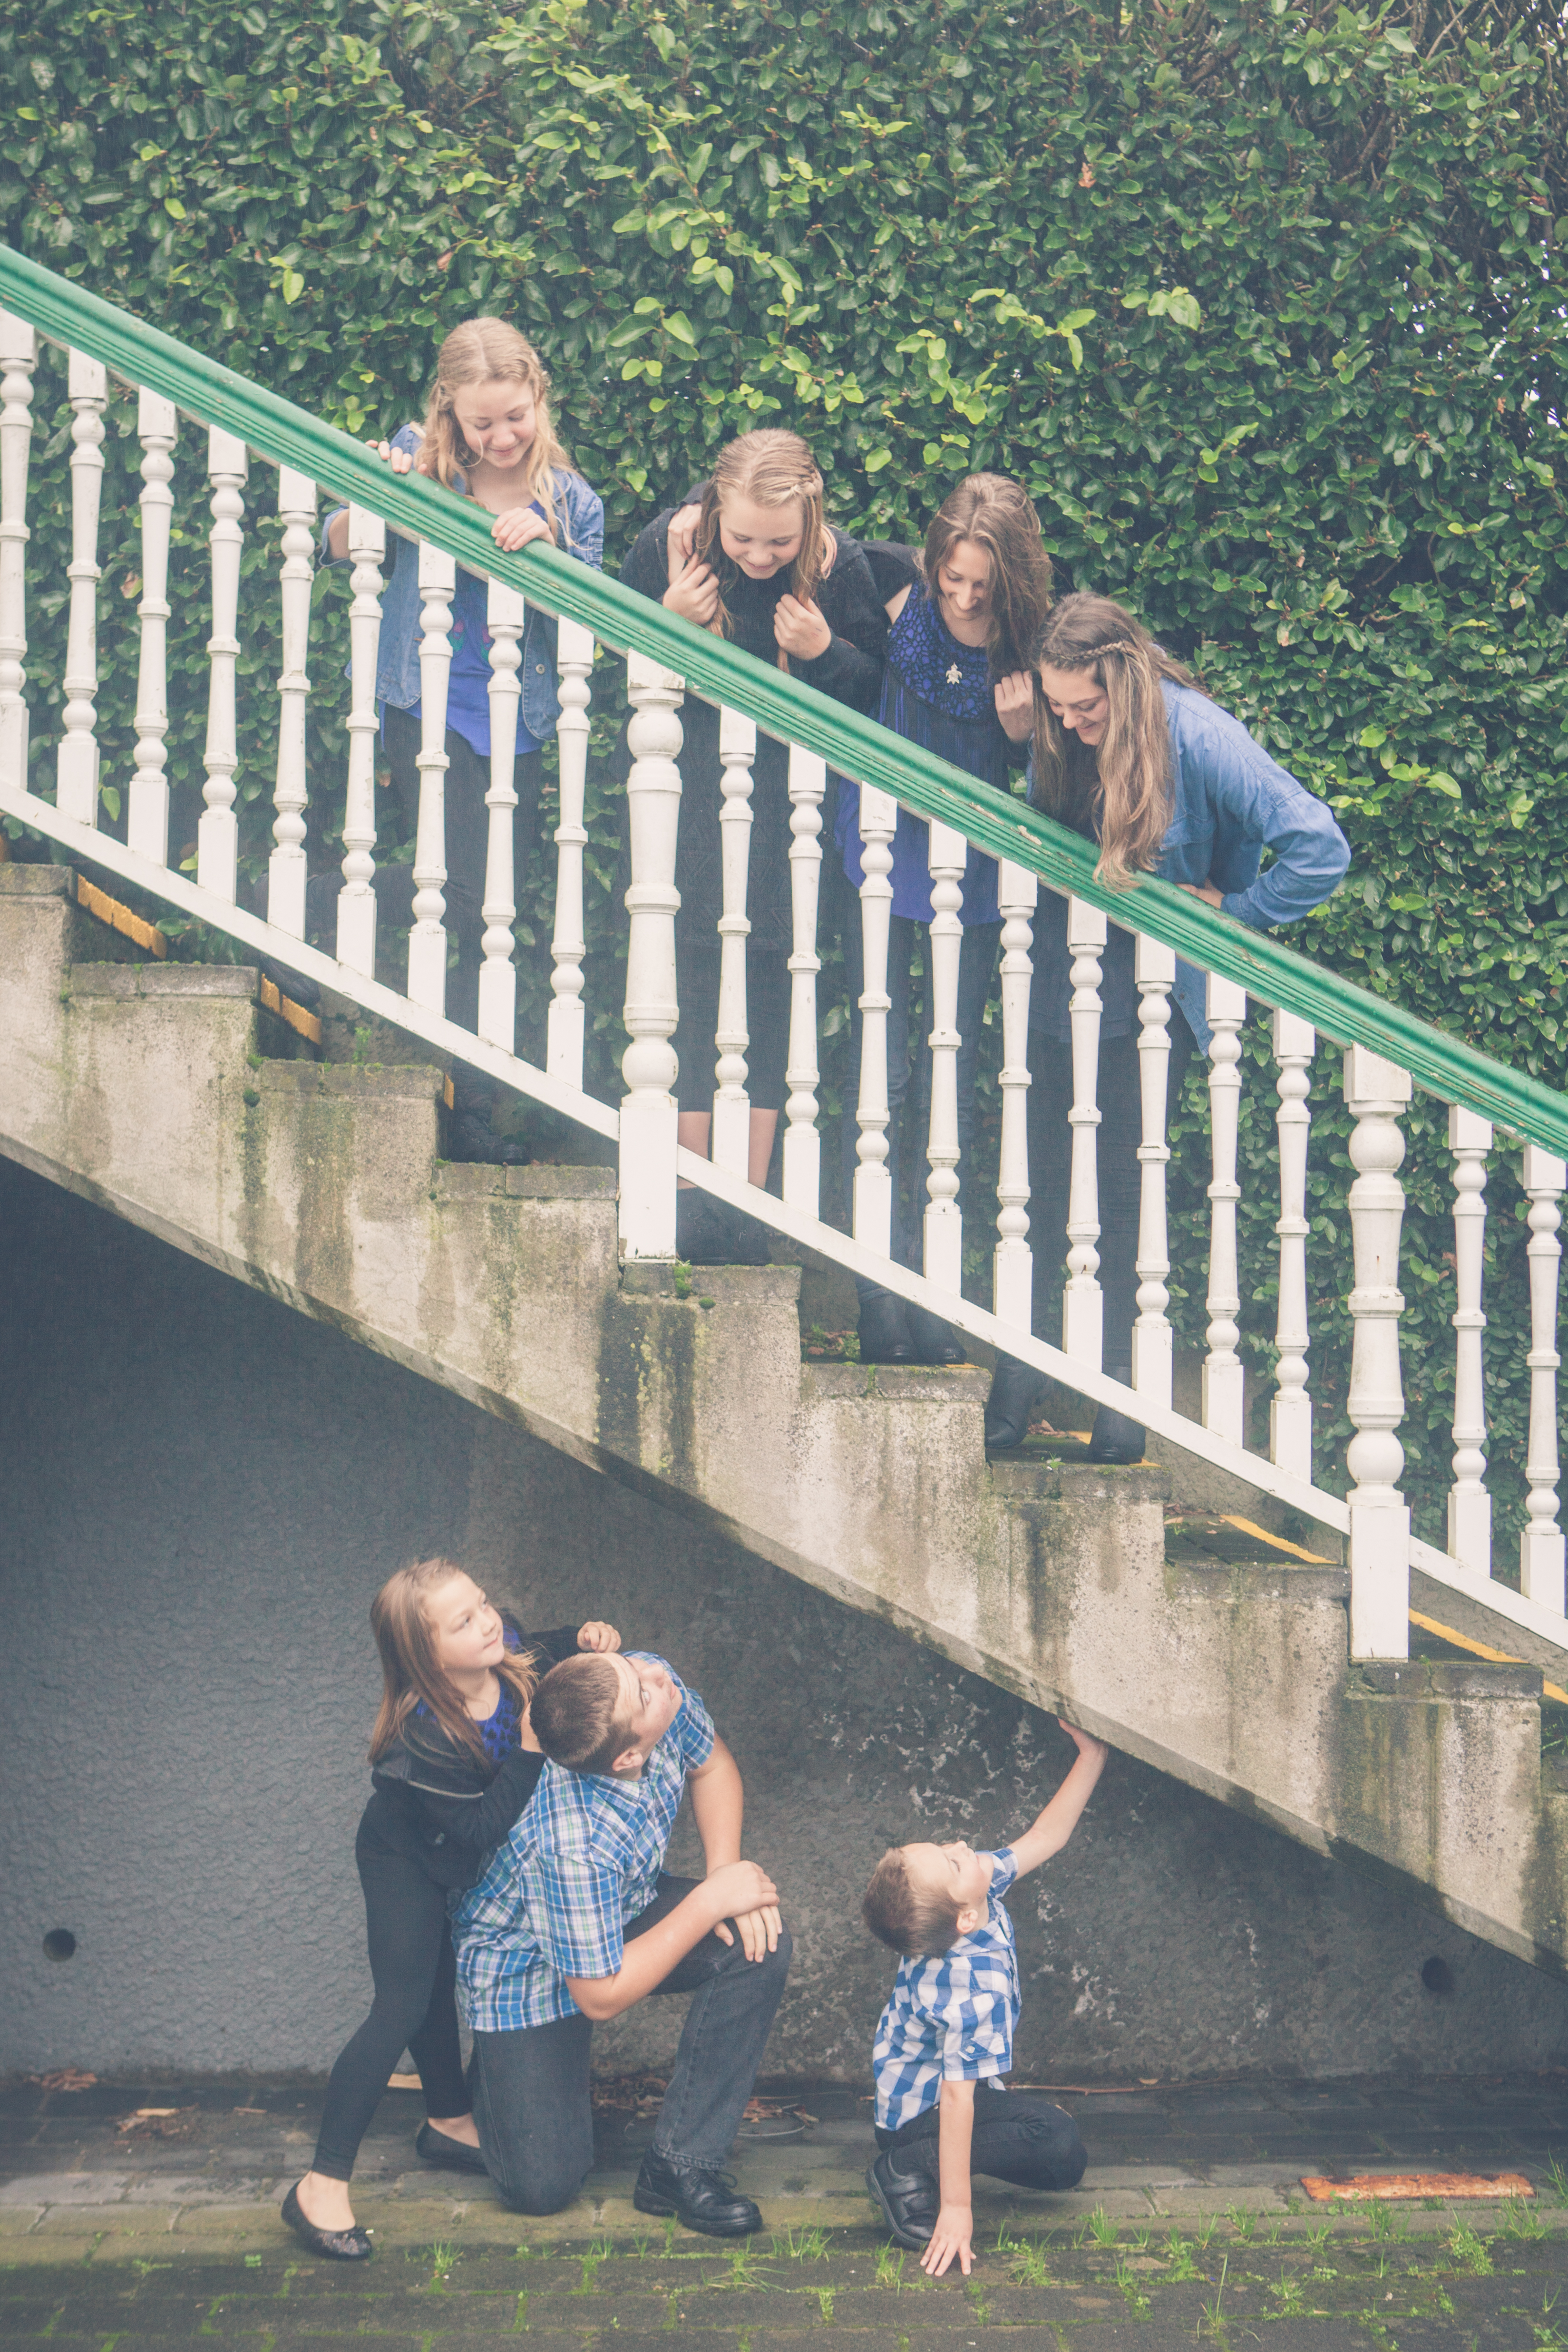
Tip Number Four: Angles. Oh boy, angles can make or break a photo! Too often we see photos with poor angles which completely distort the subjects and become an amazing photo opportunity lost! Having the camera at a low angle which is looking up at the subject, creating those awful third and fourth chins, is a definate no no. Have the camera at a high angle or eye level to your family is more flattering and keep in mind moving to the side, back and forth to experiment and give your photo that edge!
Hint: If a low angle is unavoidable sport a longer focal length and moving your family further away from the camera to lessen the steepness of the angle. You can always get them to lean forward too!
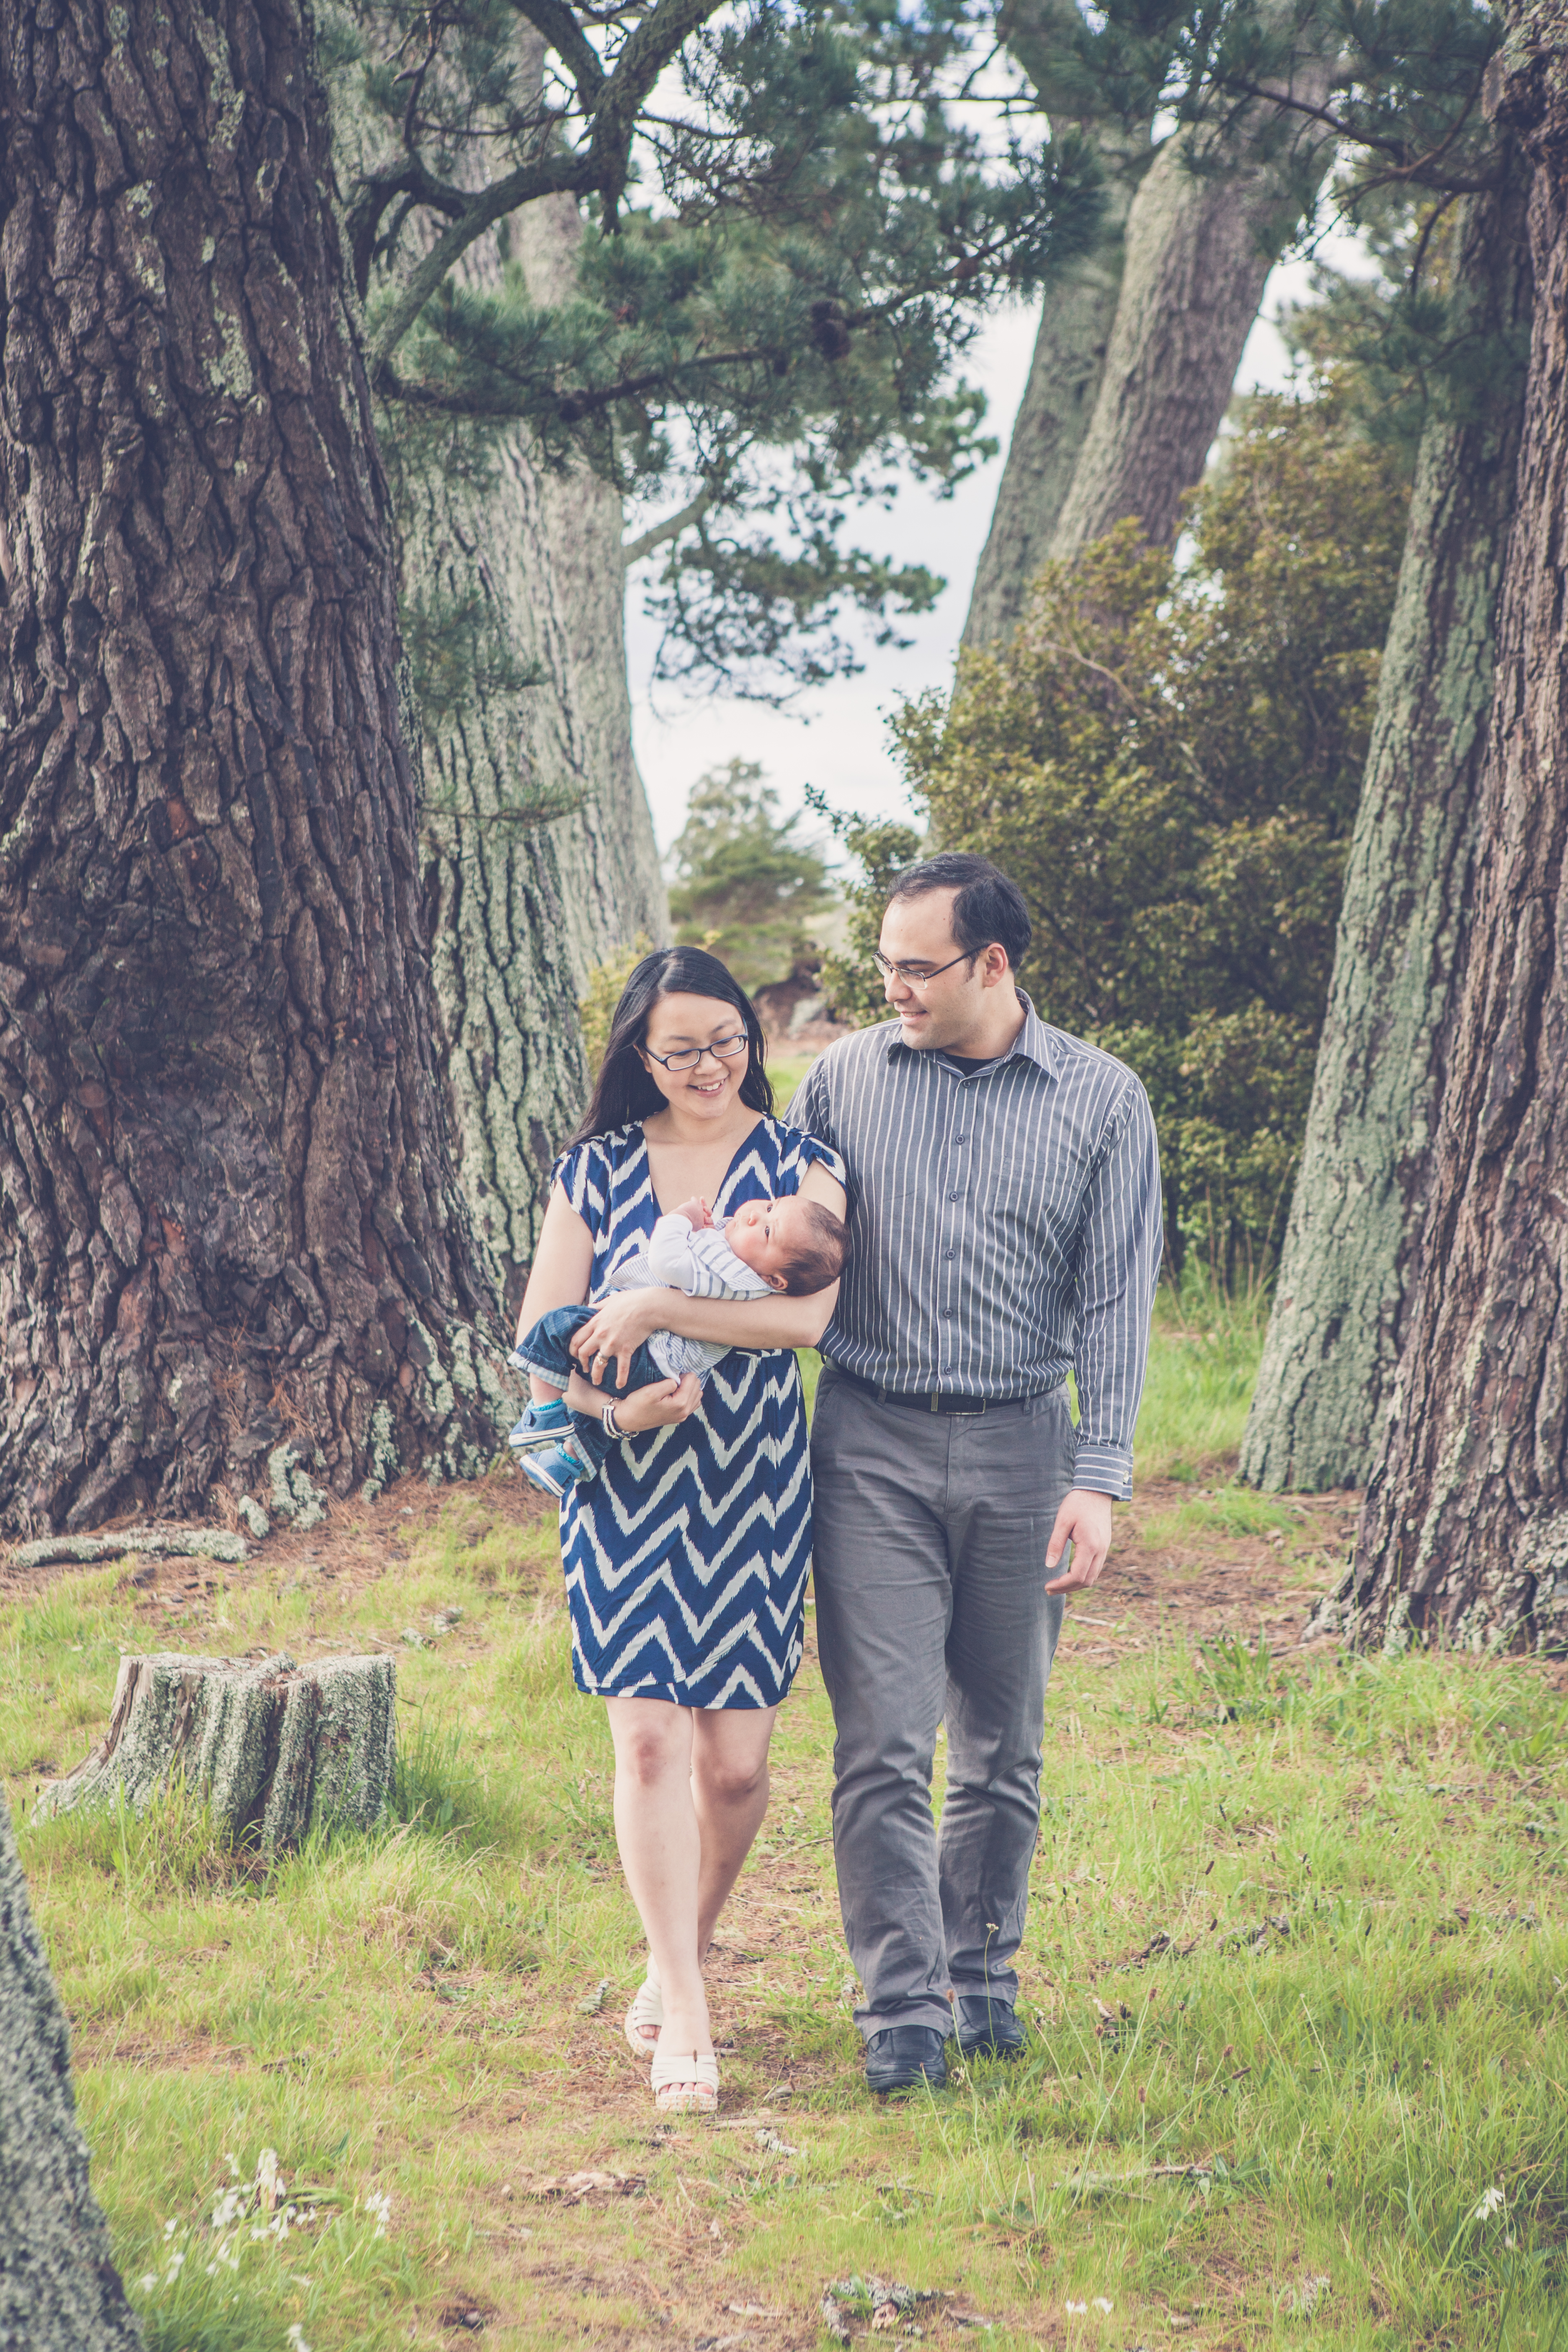
Tip Number Five: Have fun! Some of my greatest Christmas memories are from our DIY family photobooths. It’s a time to be silly, have fun and have a laugh together. Photos can seem like a chore, but they don’t have to be! Why not mix up your festive family portrait this year? The options are endless! Where santa hats, show us your favourite present, pick up the kids and pull a fun pose! These types of things can really help relax everyone into the idea that you’re taking *gasp* family photos. What we like to do in family sessions is start with a couple of fun and silly photos first, then ask the kids if they can give me their best smile with the promise that we can do another funny picture following the nice portrait; always a great motivation, kids love to have fun! (big kids included!) Oh and never shy away from a fake laugh, trust us, fake laughs as awkward as they seem, almost always end in fits of natural, gorgeous looking laughter and smiles!
Festive family photos are a highlight of our Christmas calendar! We hope these tips help turn those plain family pictures into ones that become a loving memory!
Adam & Kirst

WonderFerris is made up of the collaborative team of Adam Ferris & Kirsten Palmer. They love to give anything creative ago and love working together to achieve whatever creative project the world throws at them! They are freelance photographers based in West Auckland.
If you want to see more of Adam & Kirsten’s work check out their website here or find them here on Facebook.

© 2015 As You Wish Events Ltd. Want to use this article in your E-newsletter, blog, or website? You can as long as you include this complete statement: Auckland, New Zealand – Event Planner & Designer Nadine Crozier publishes the ‘As You Wish Events’ blog filled with secrets, tips and how-tos for planning your fabulous event. Get your exclusive inspiration, tips and tricks at http://www.asyouwish.co.nz. As You Wish Events is an event planning and design company based in Auckland, serving the Auckland region and certain areas of Northland.
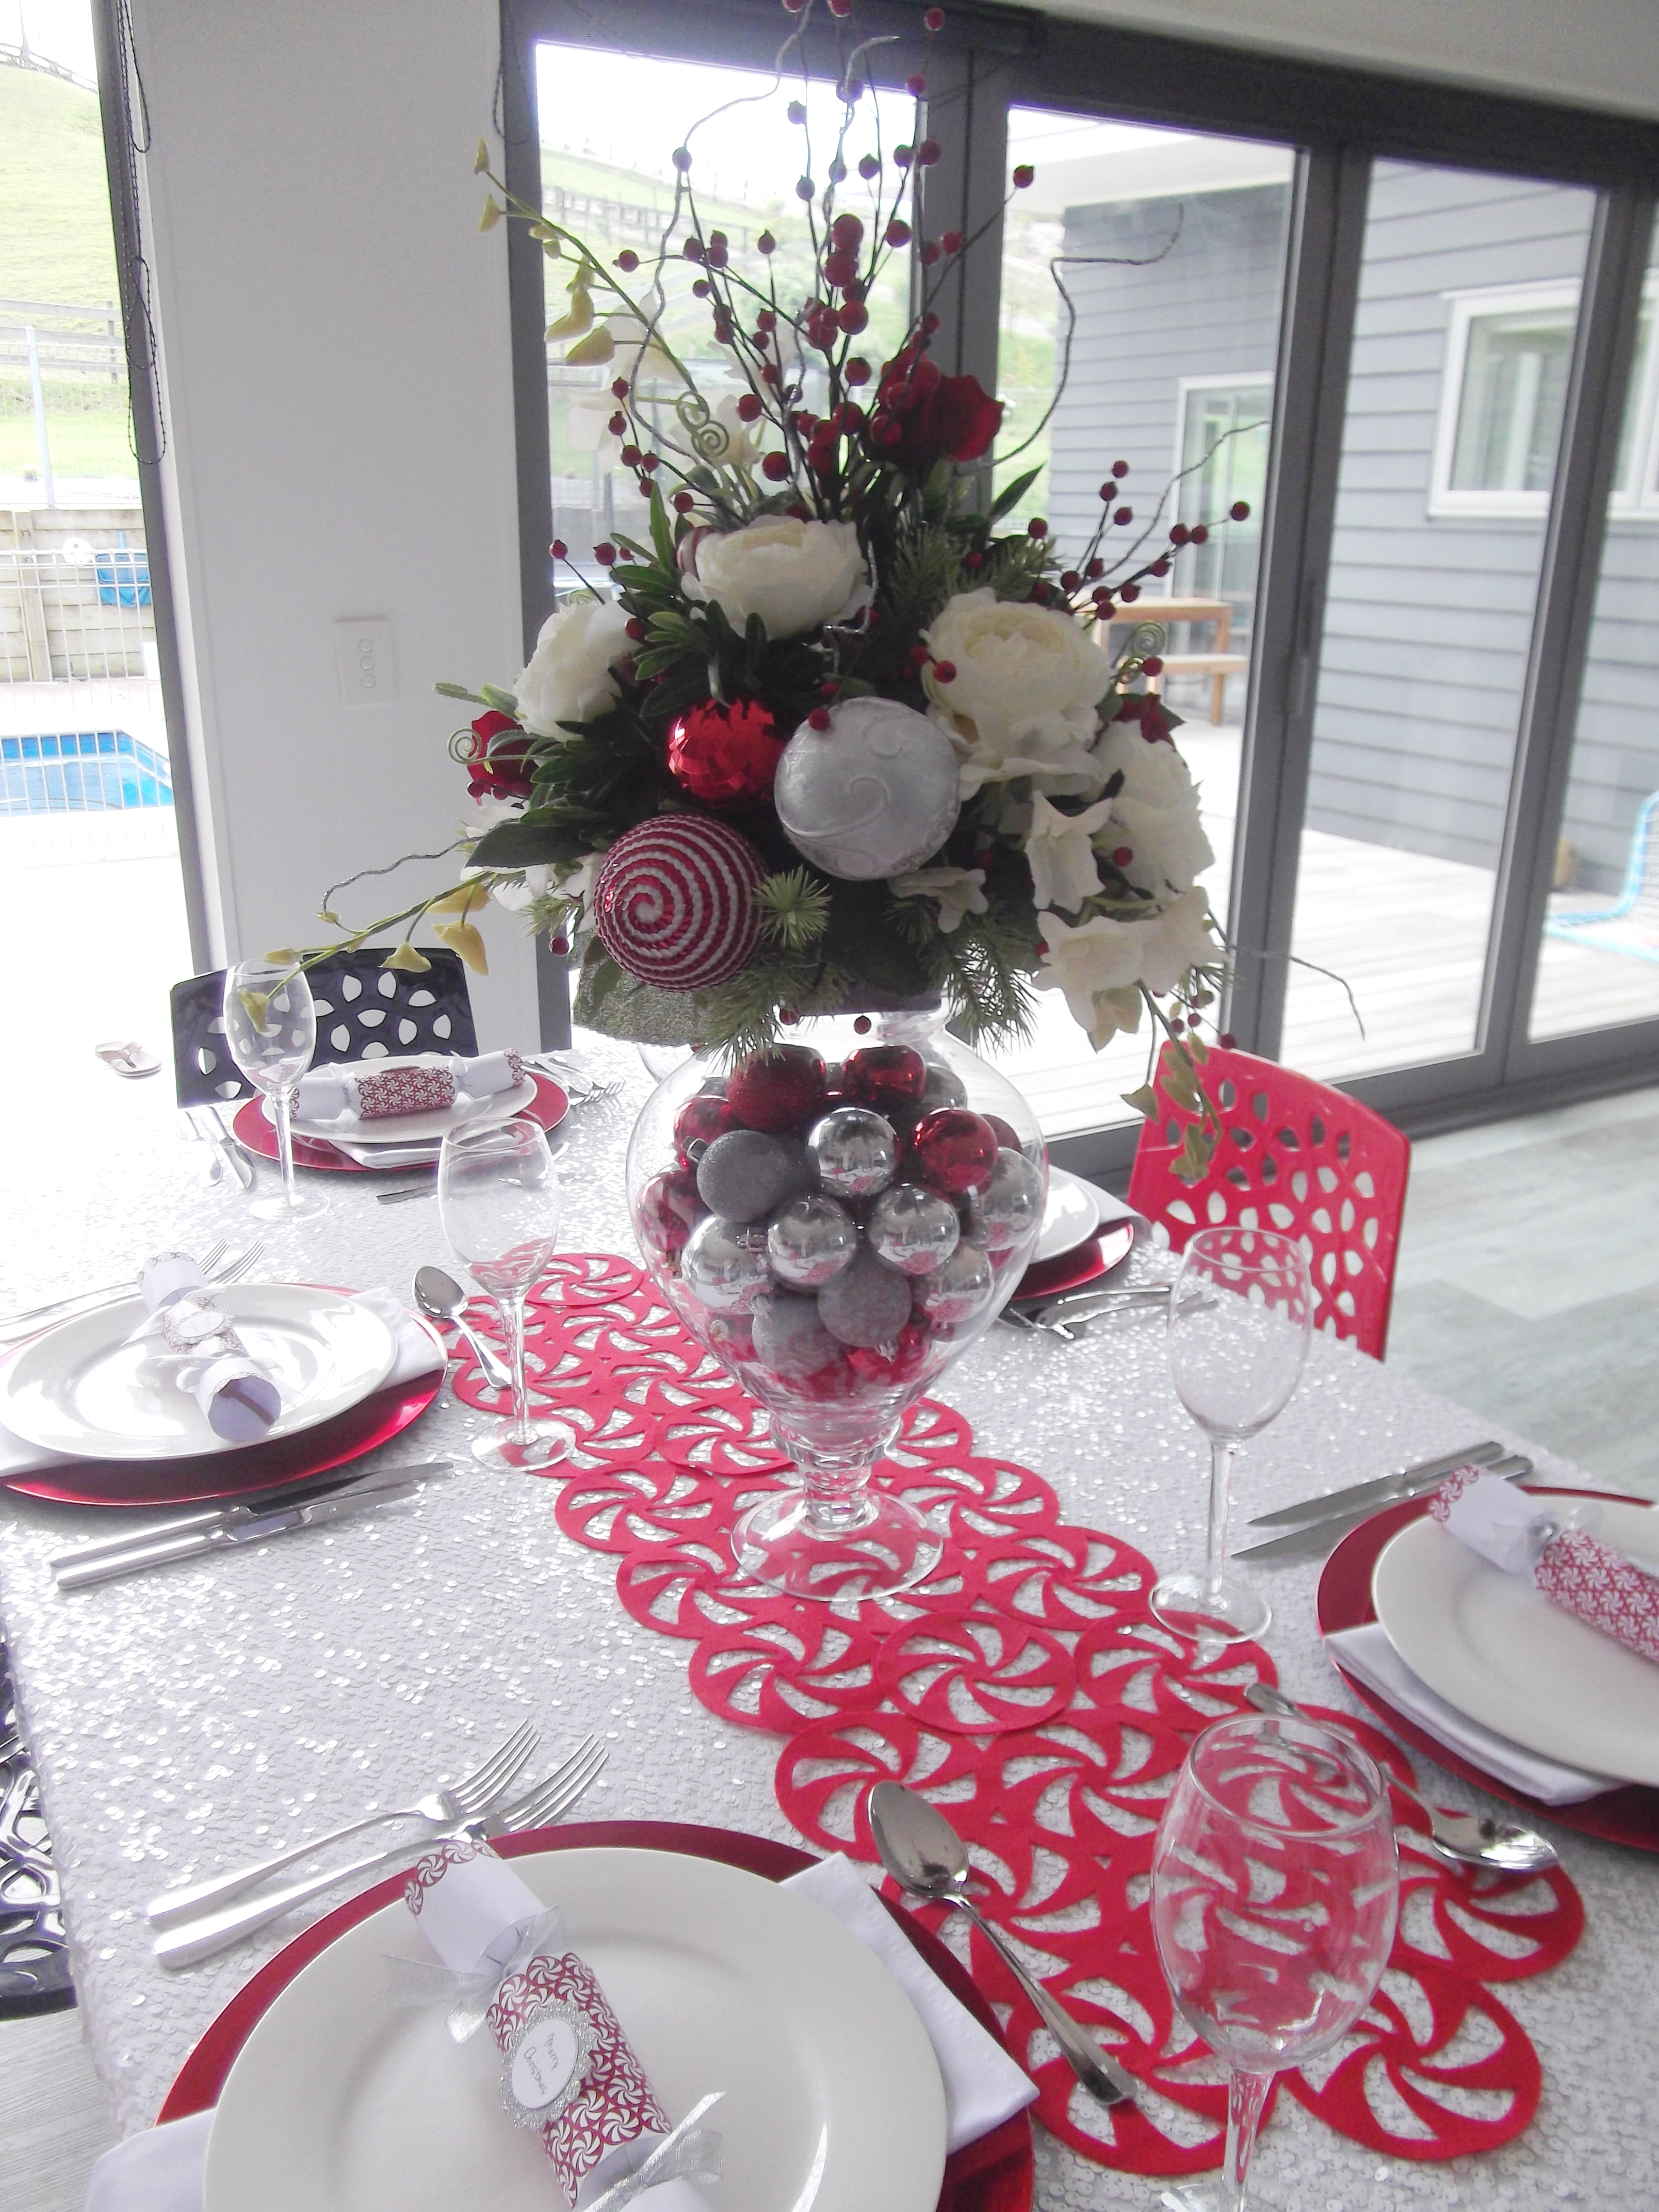
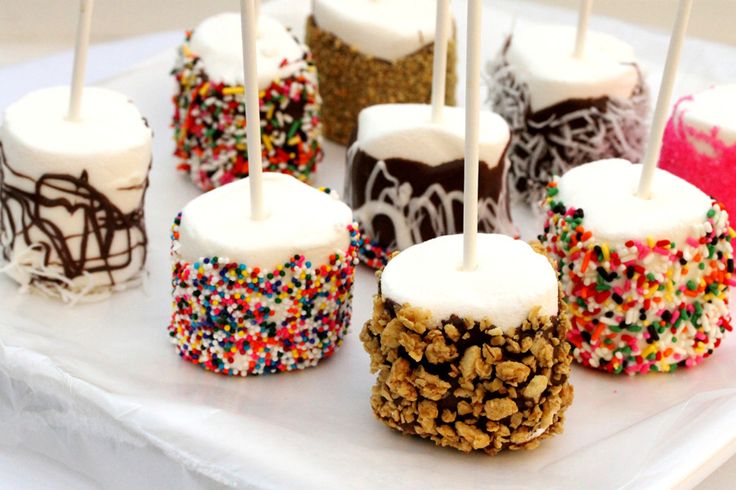
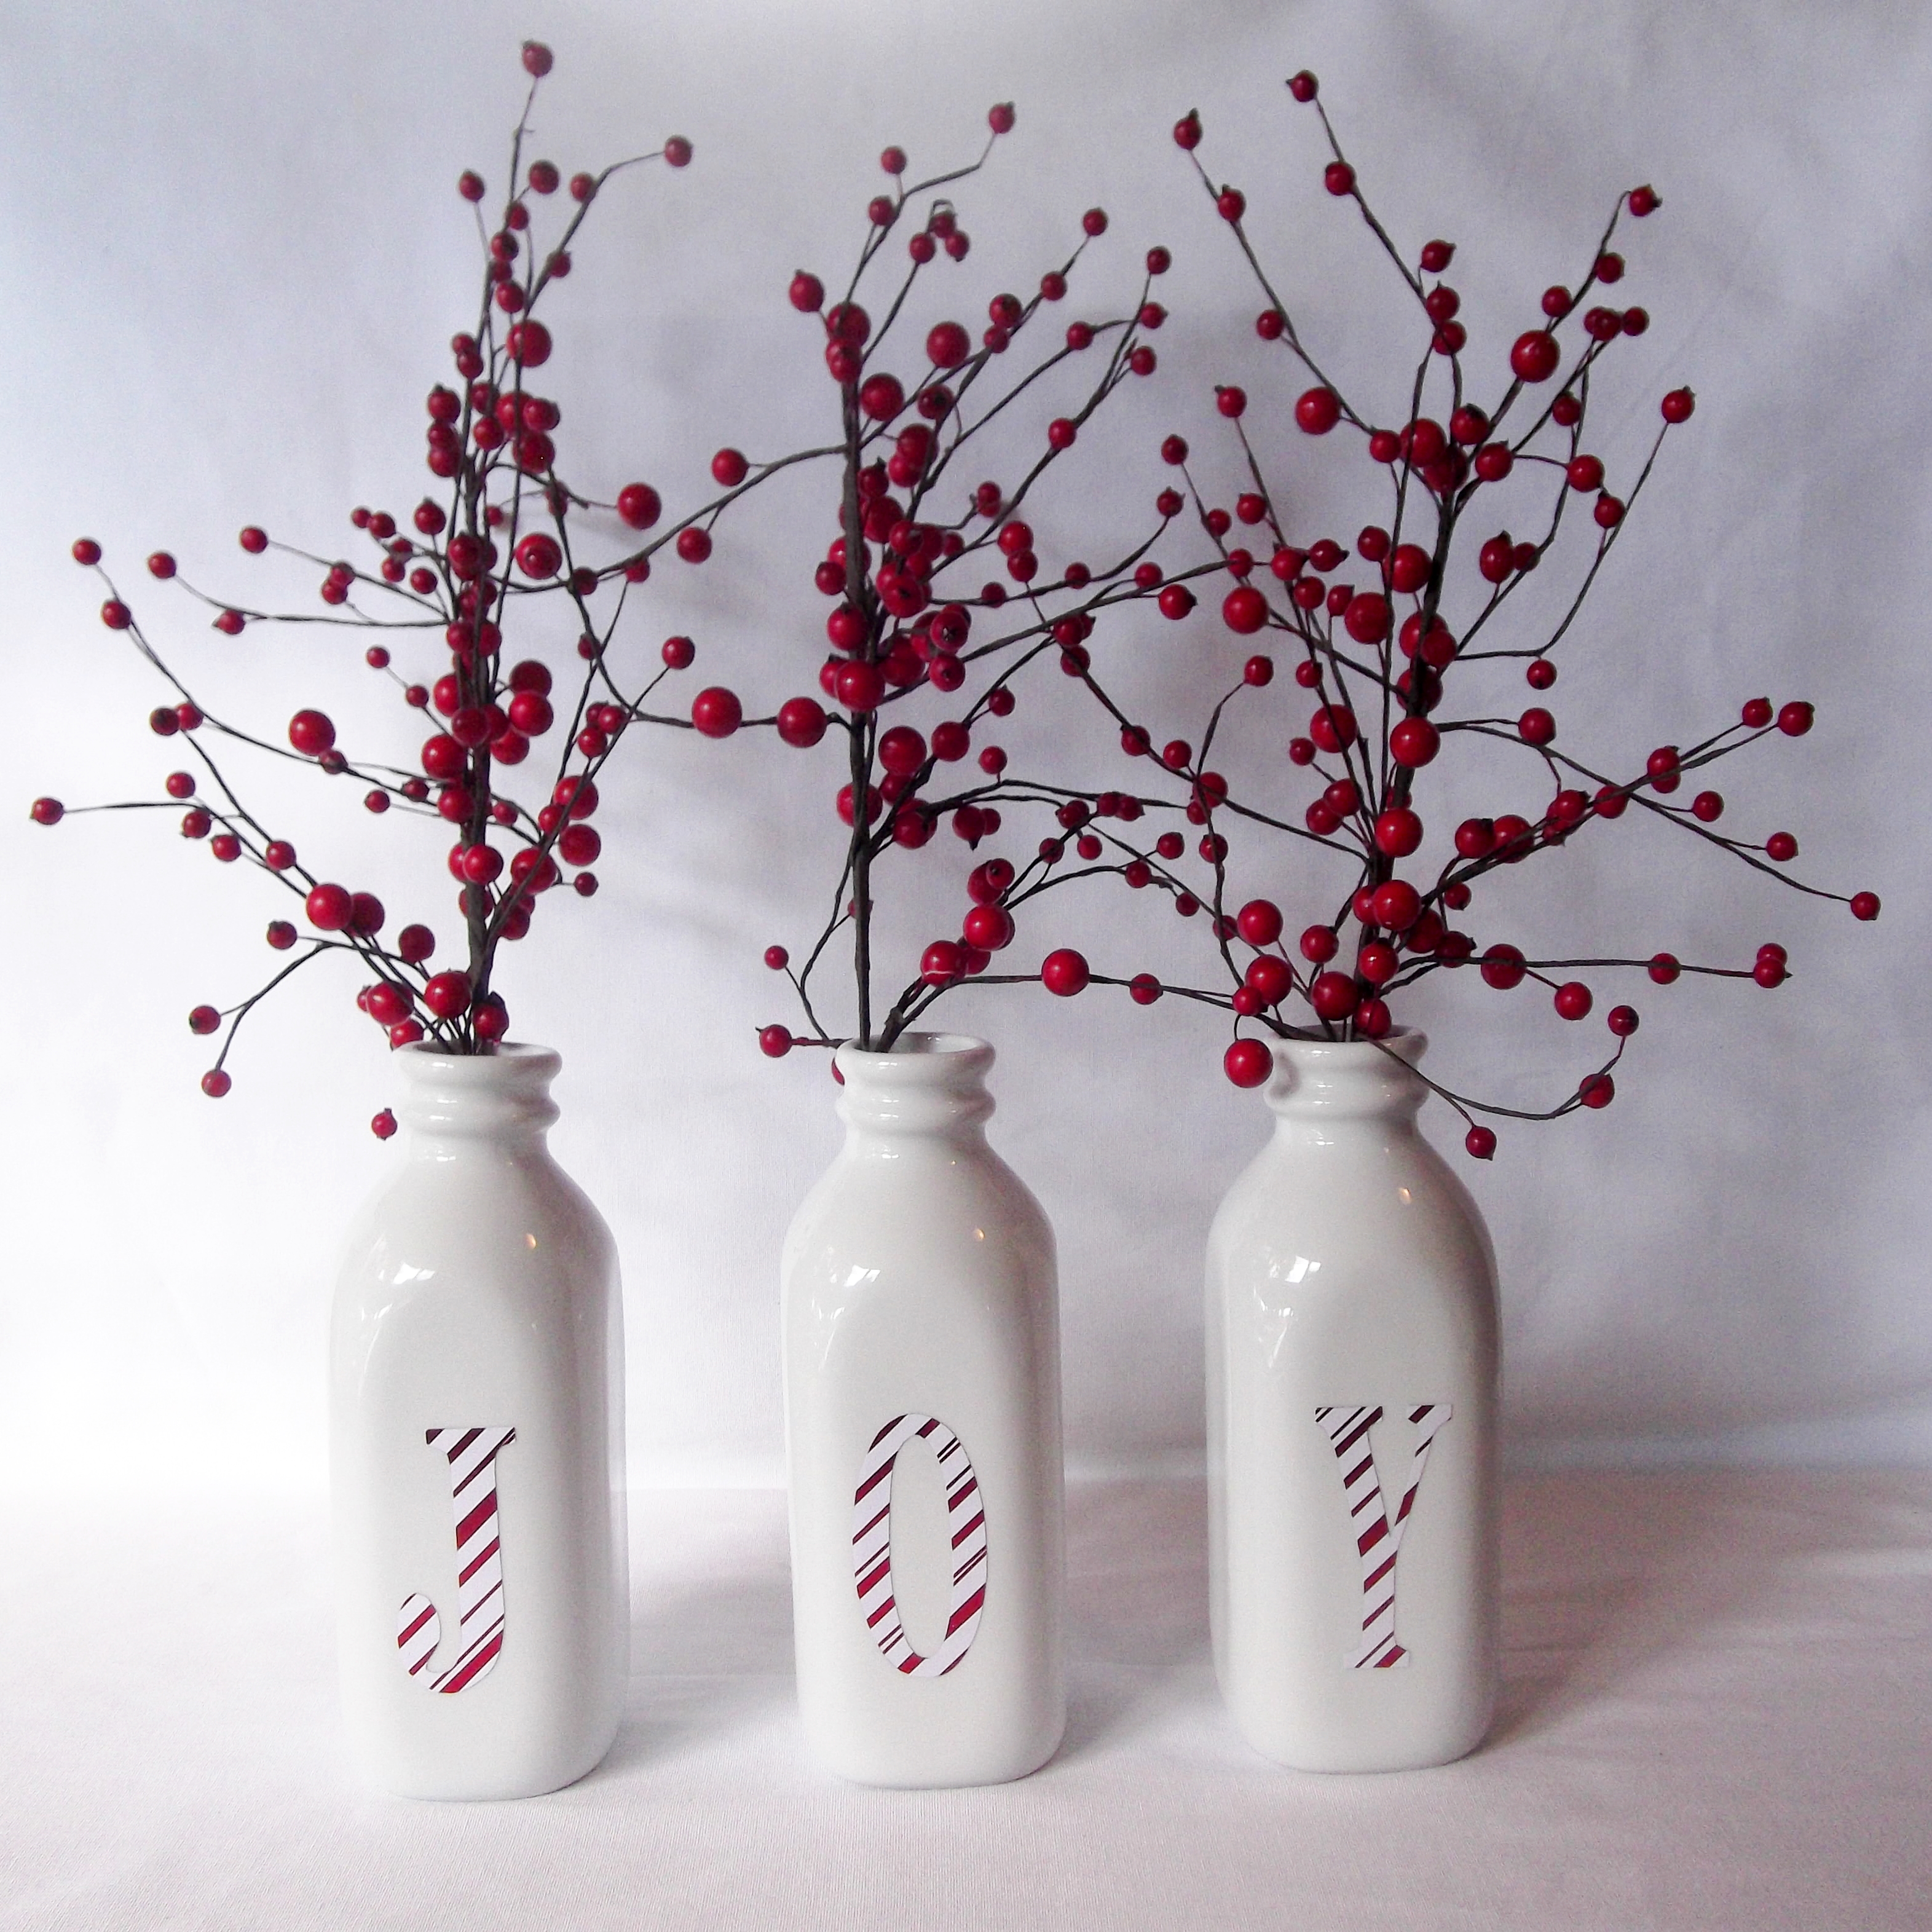
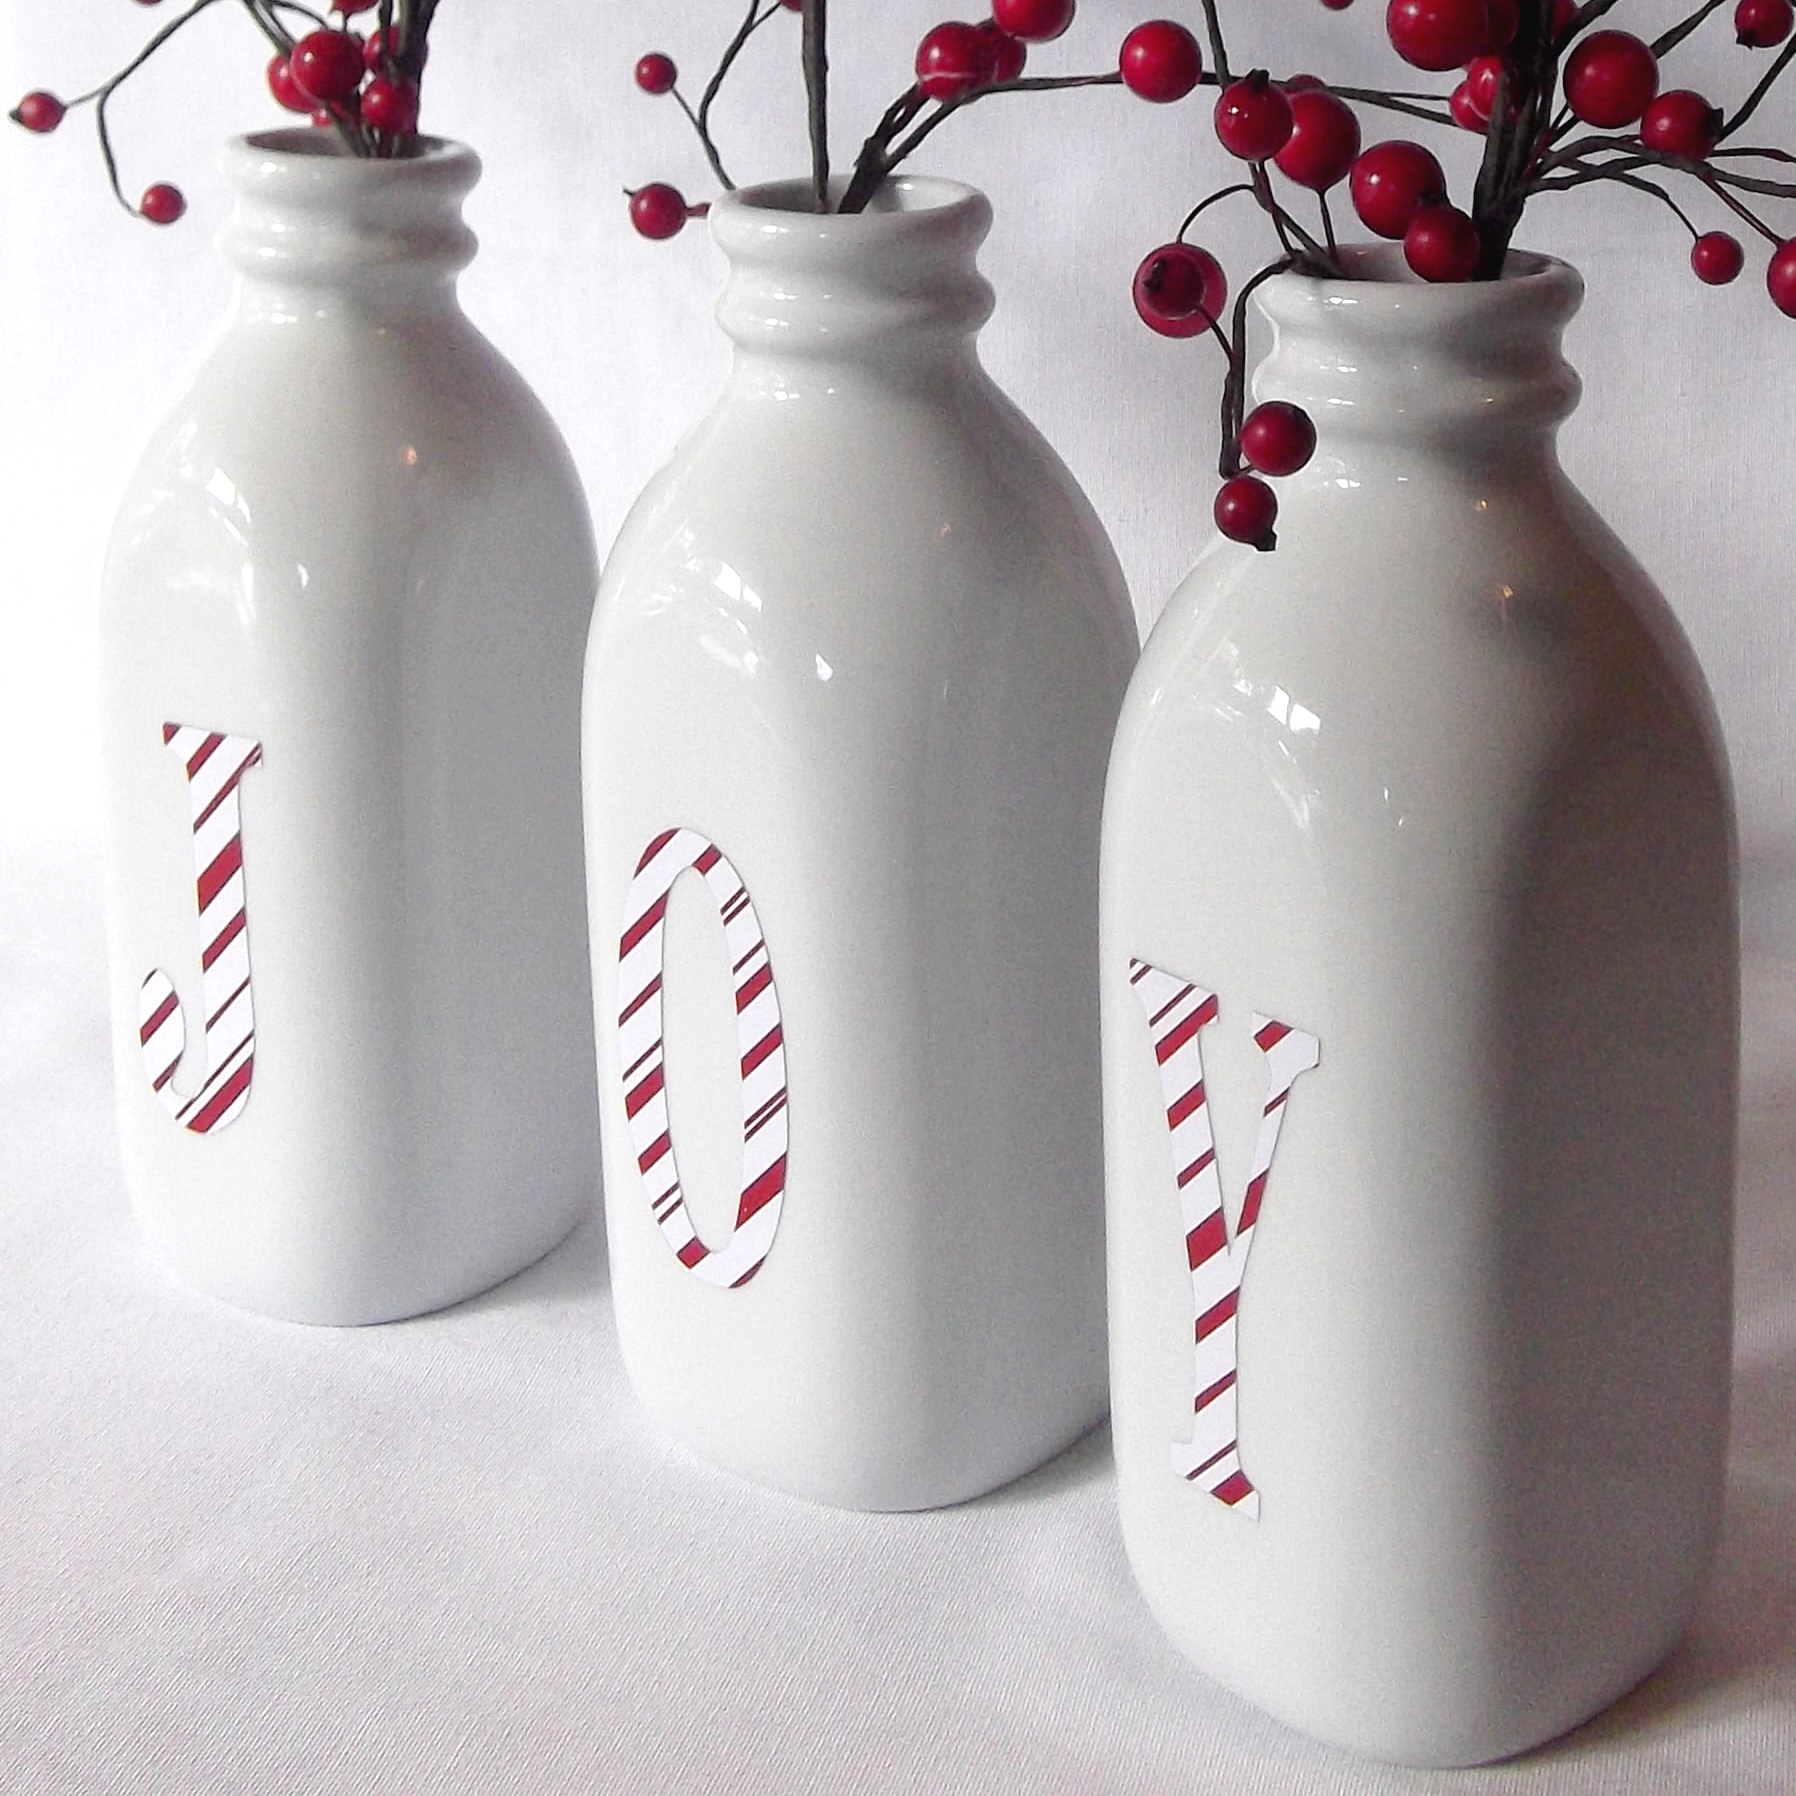
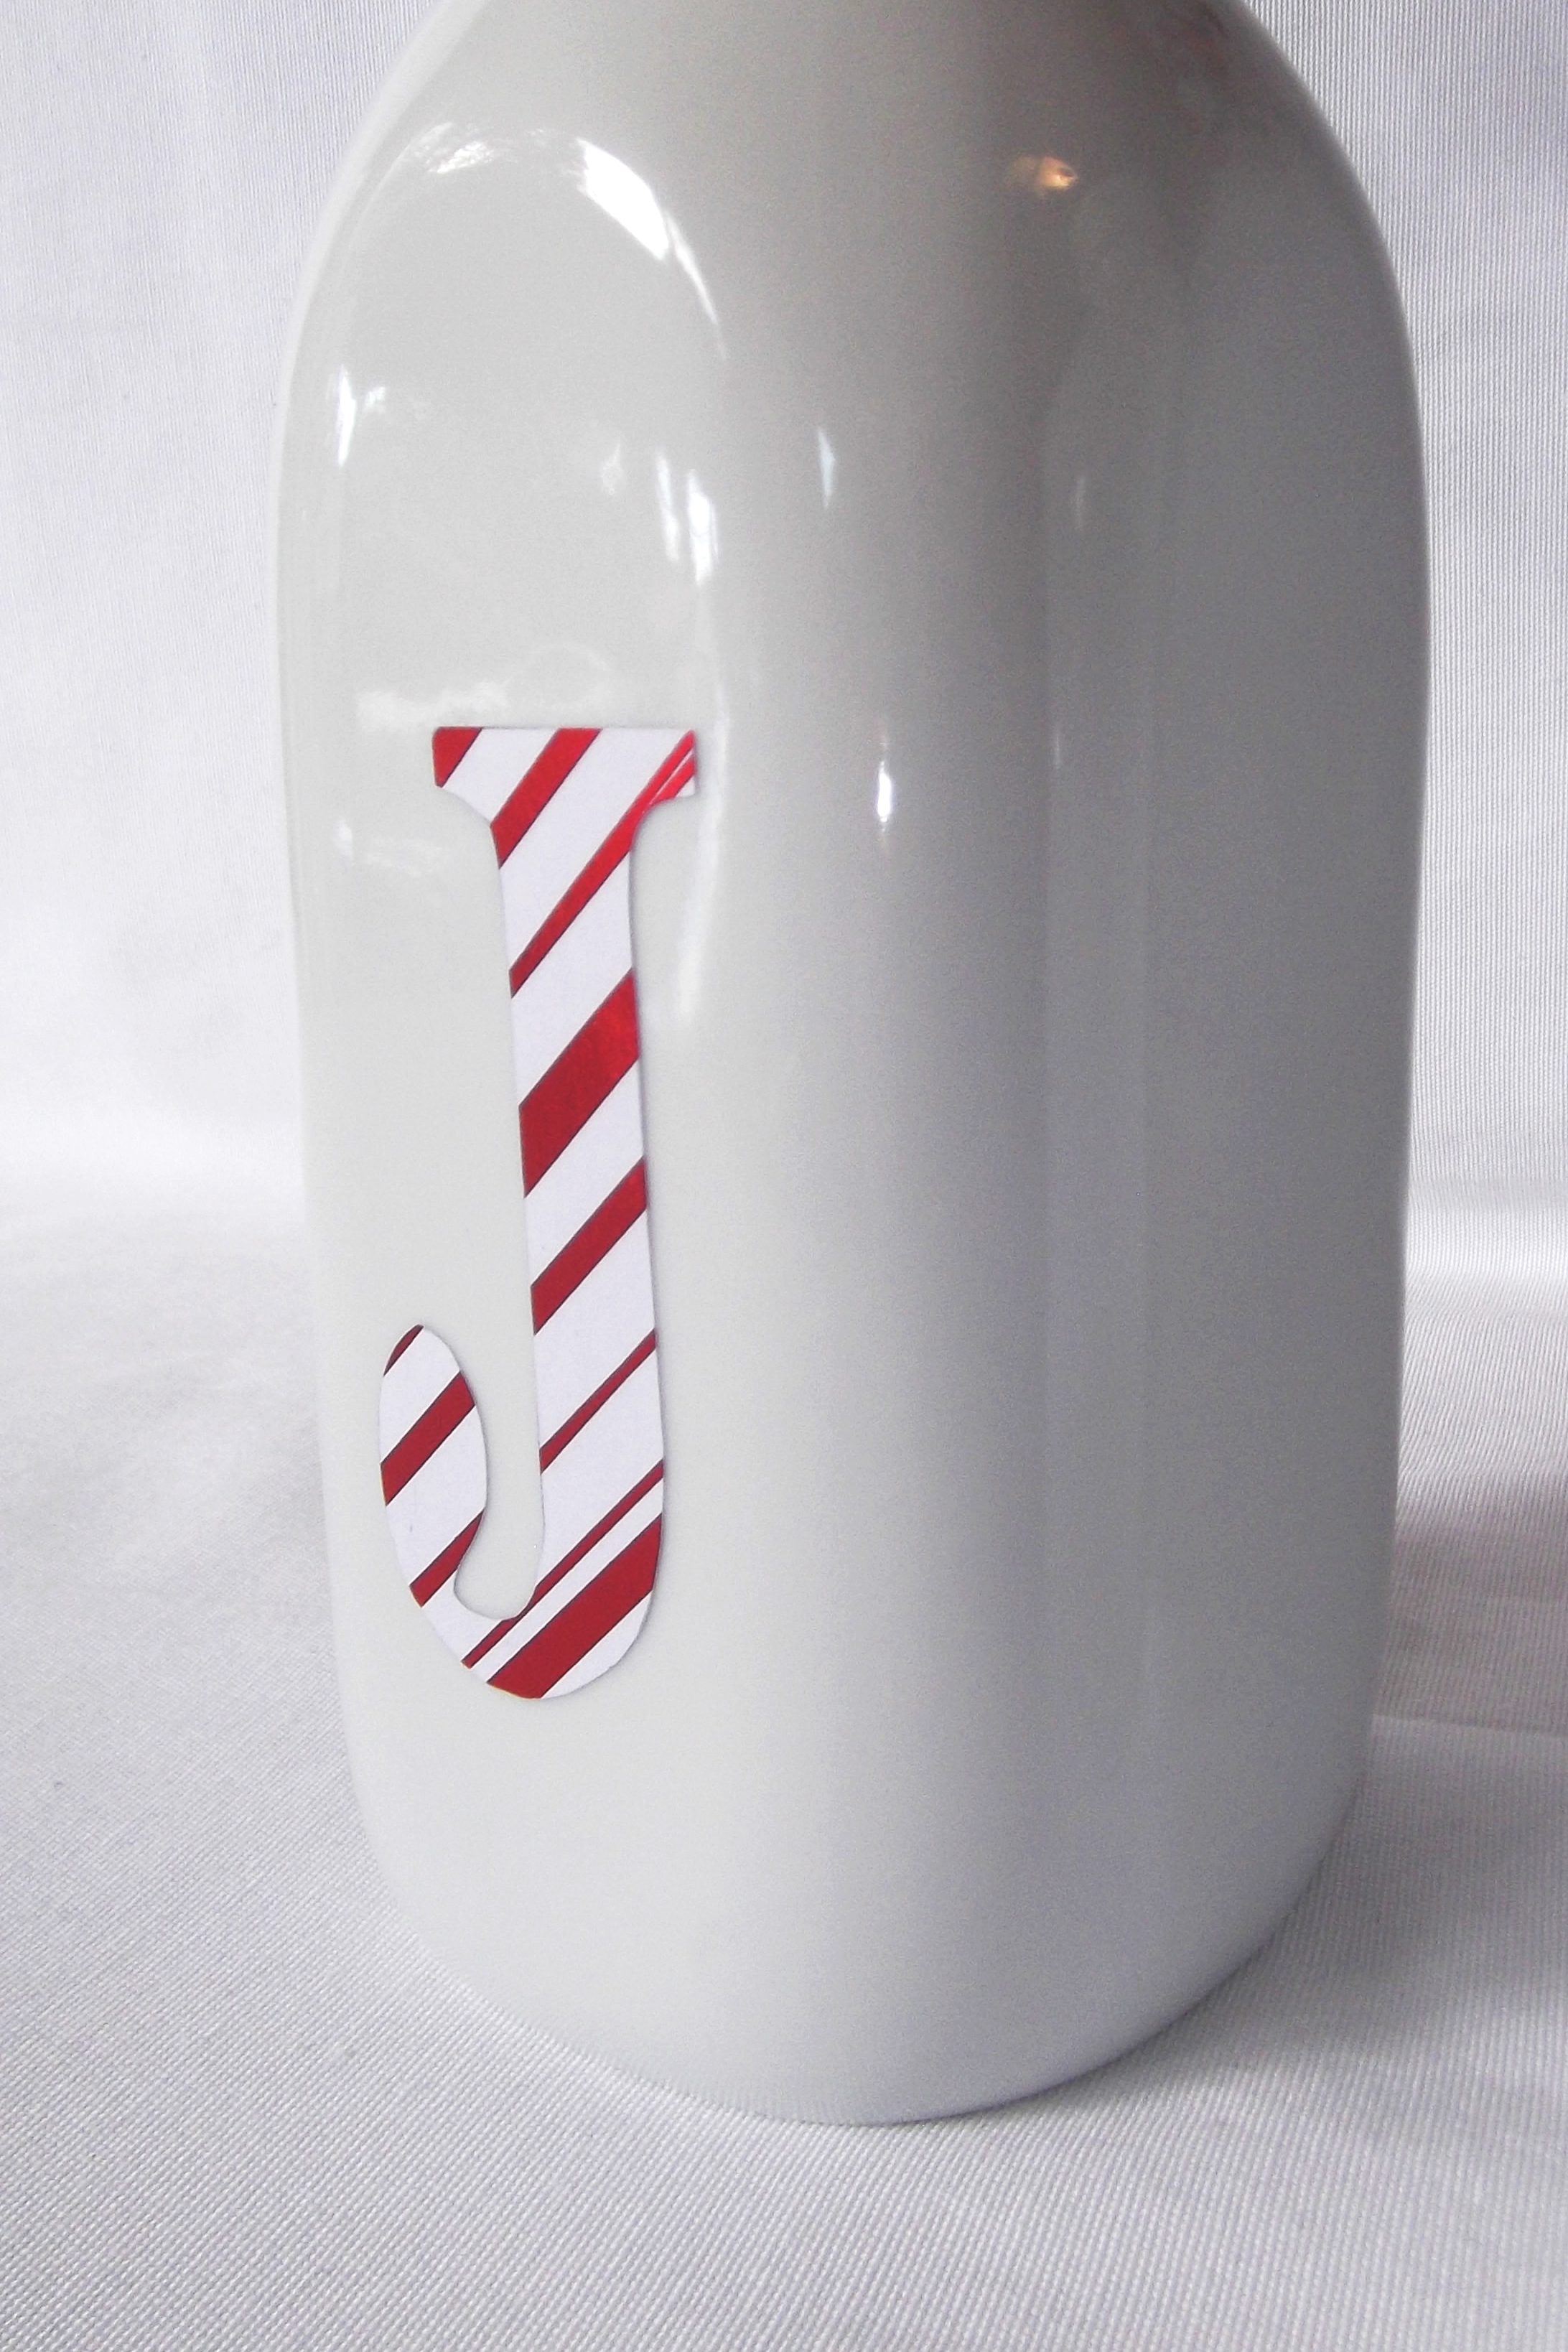
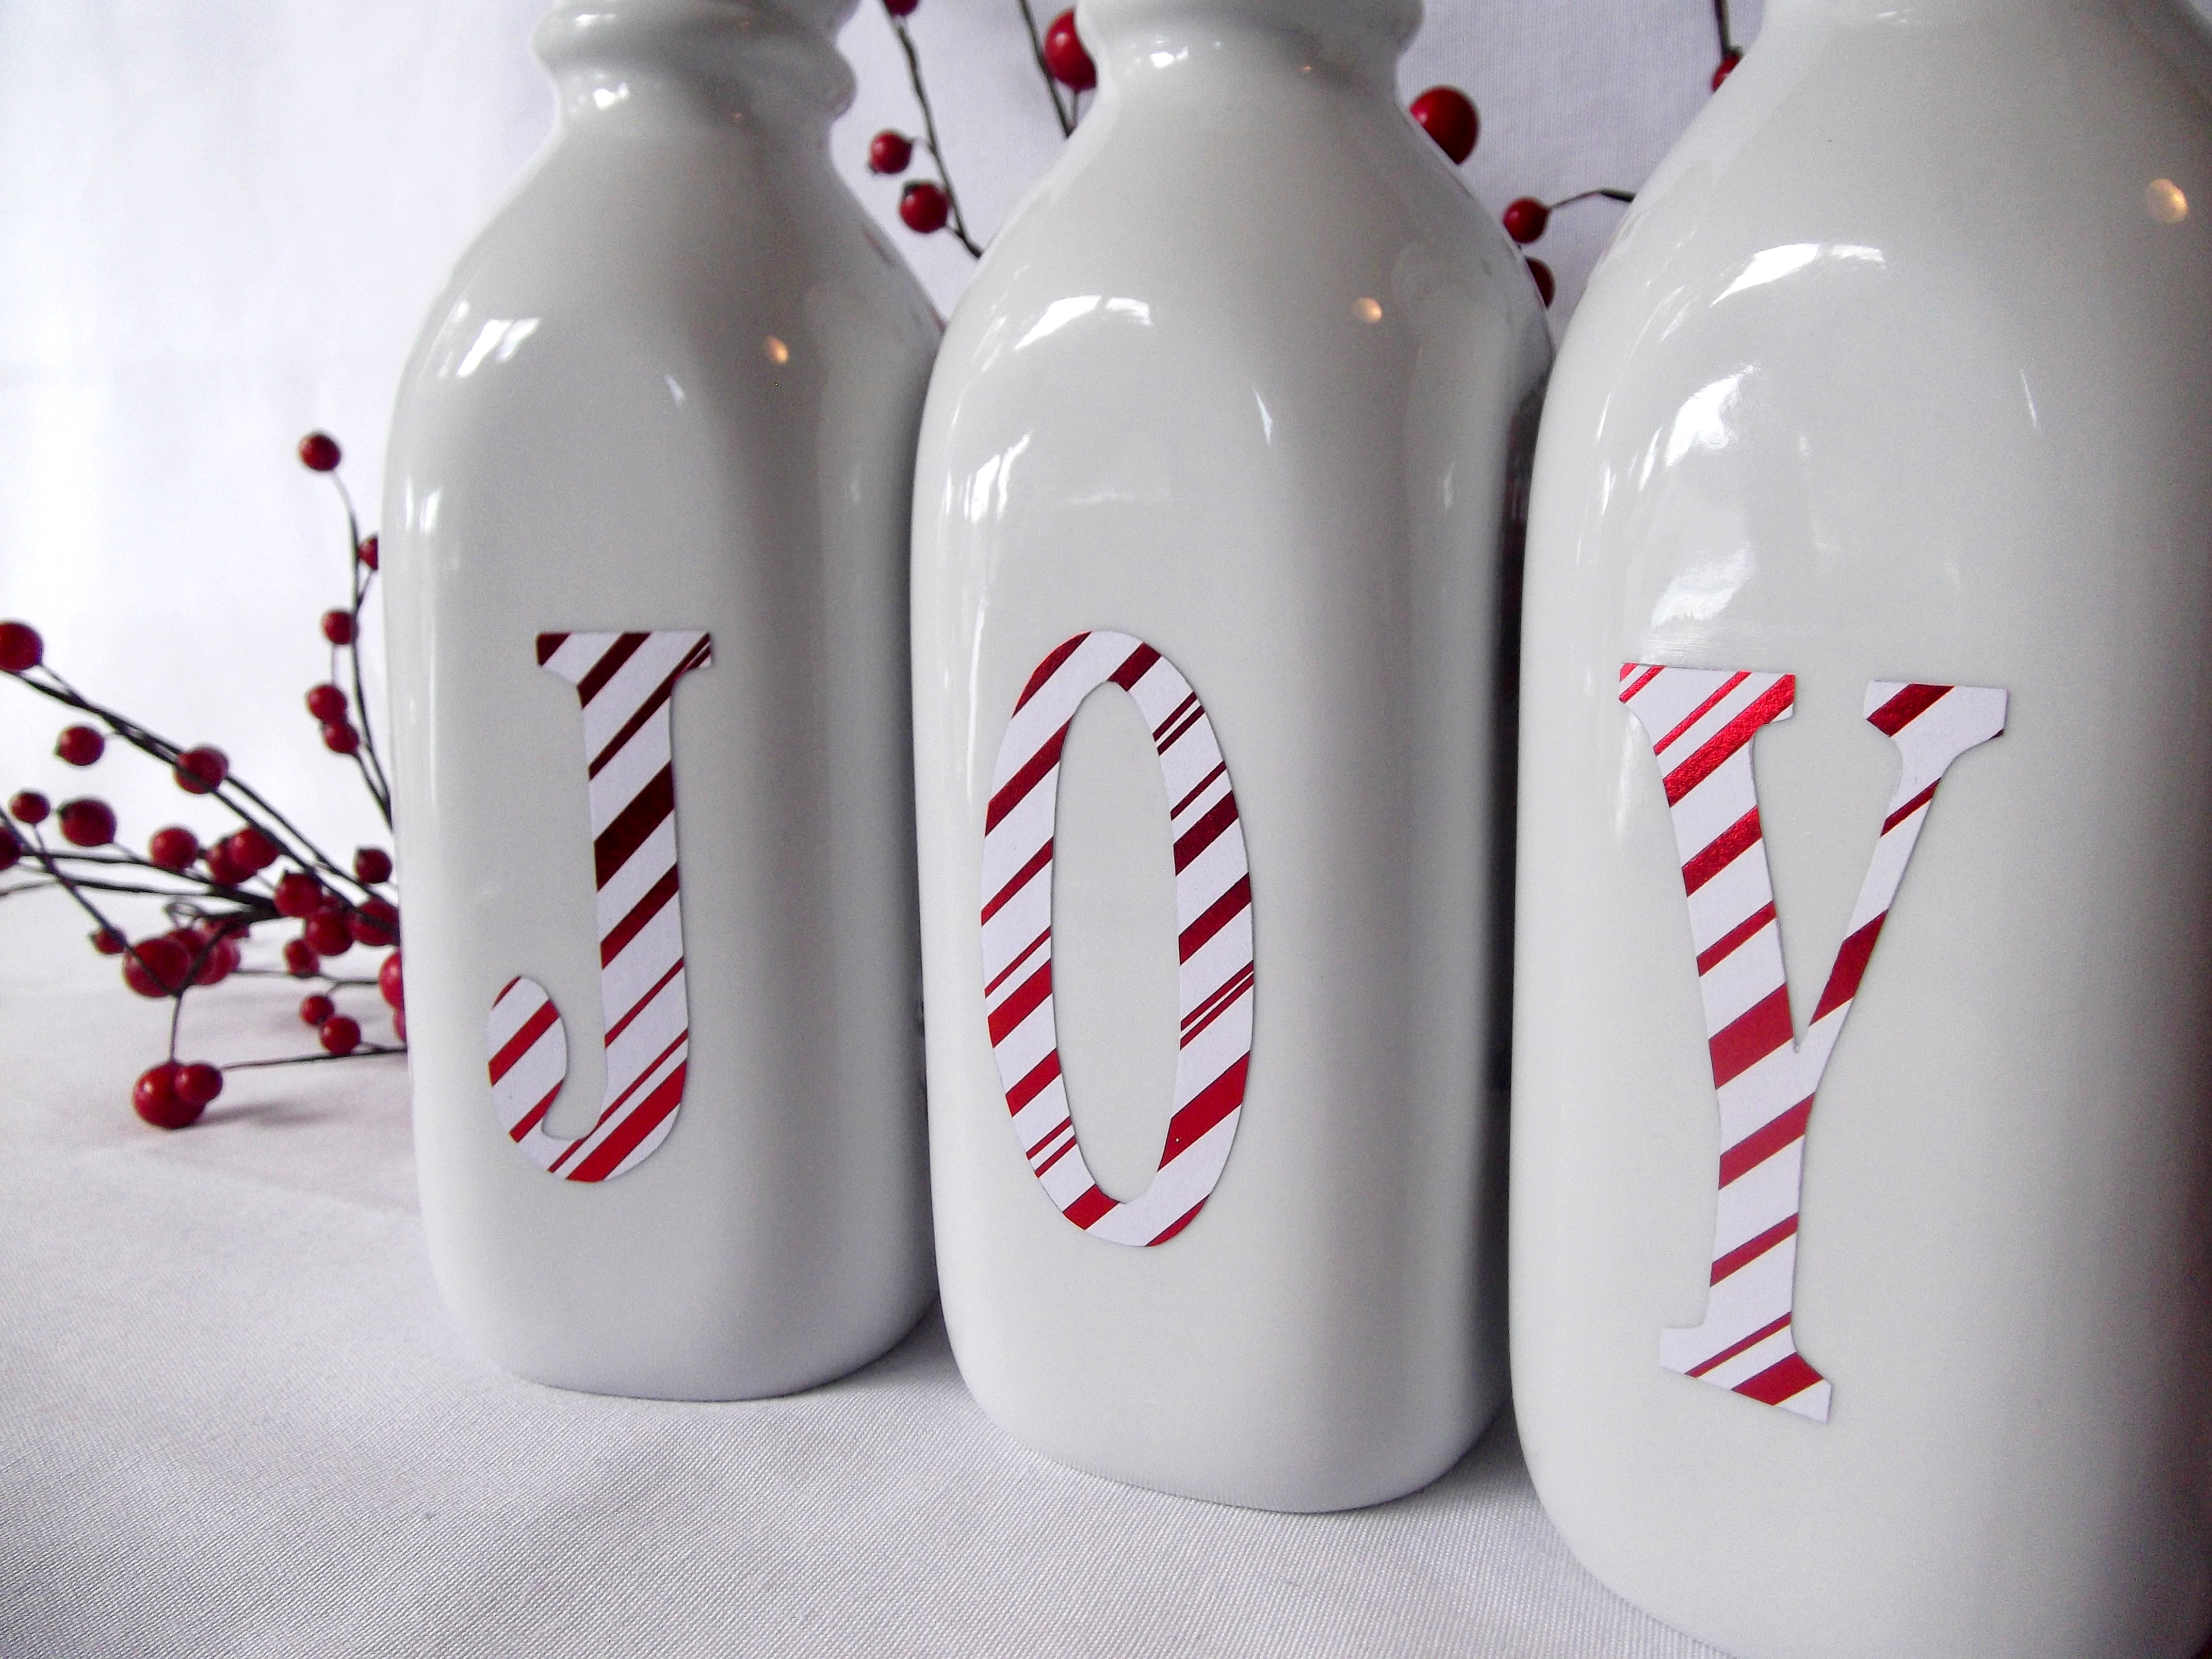
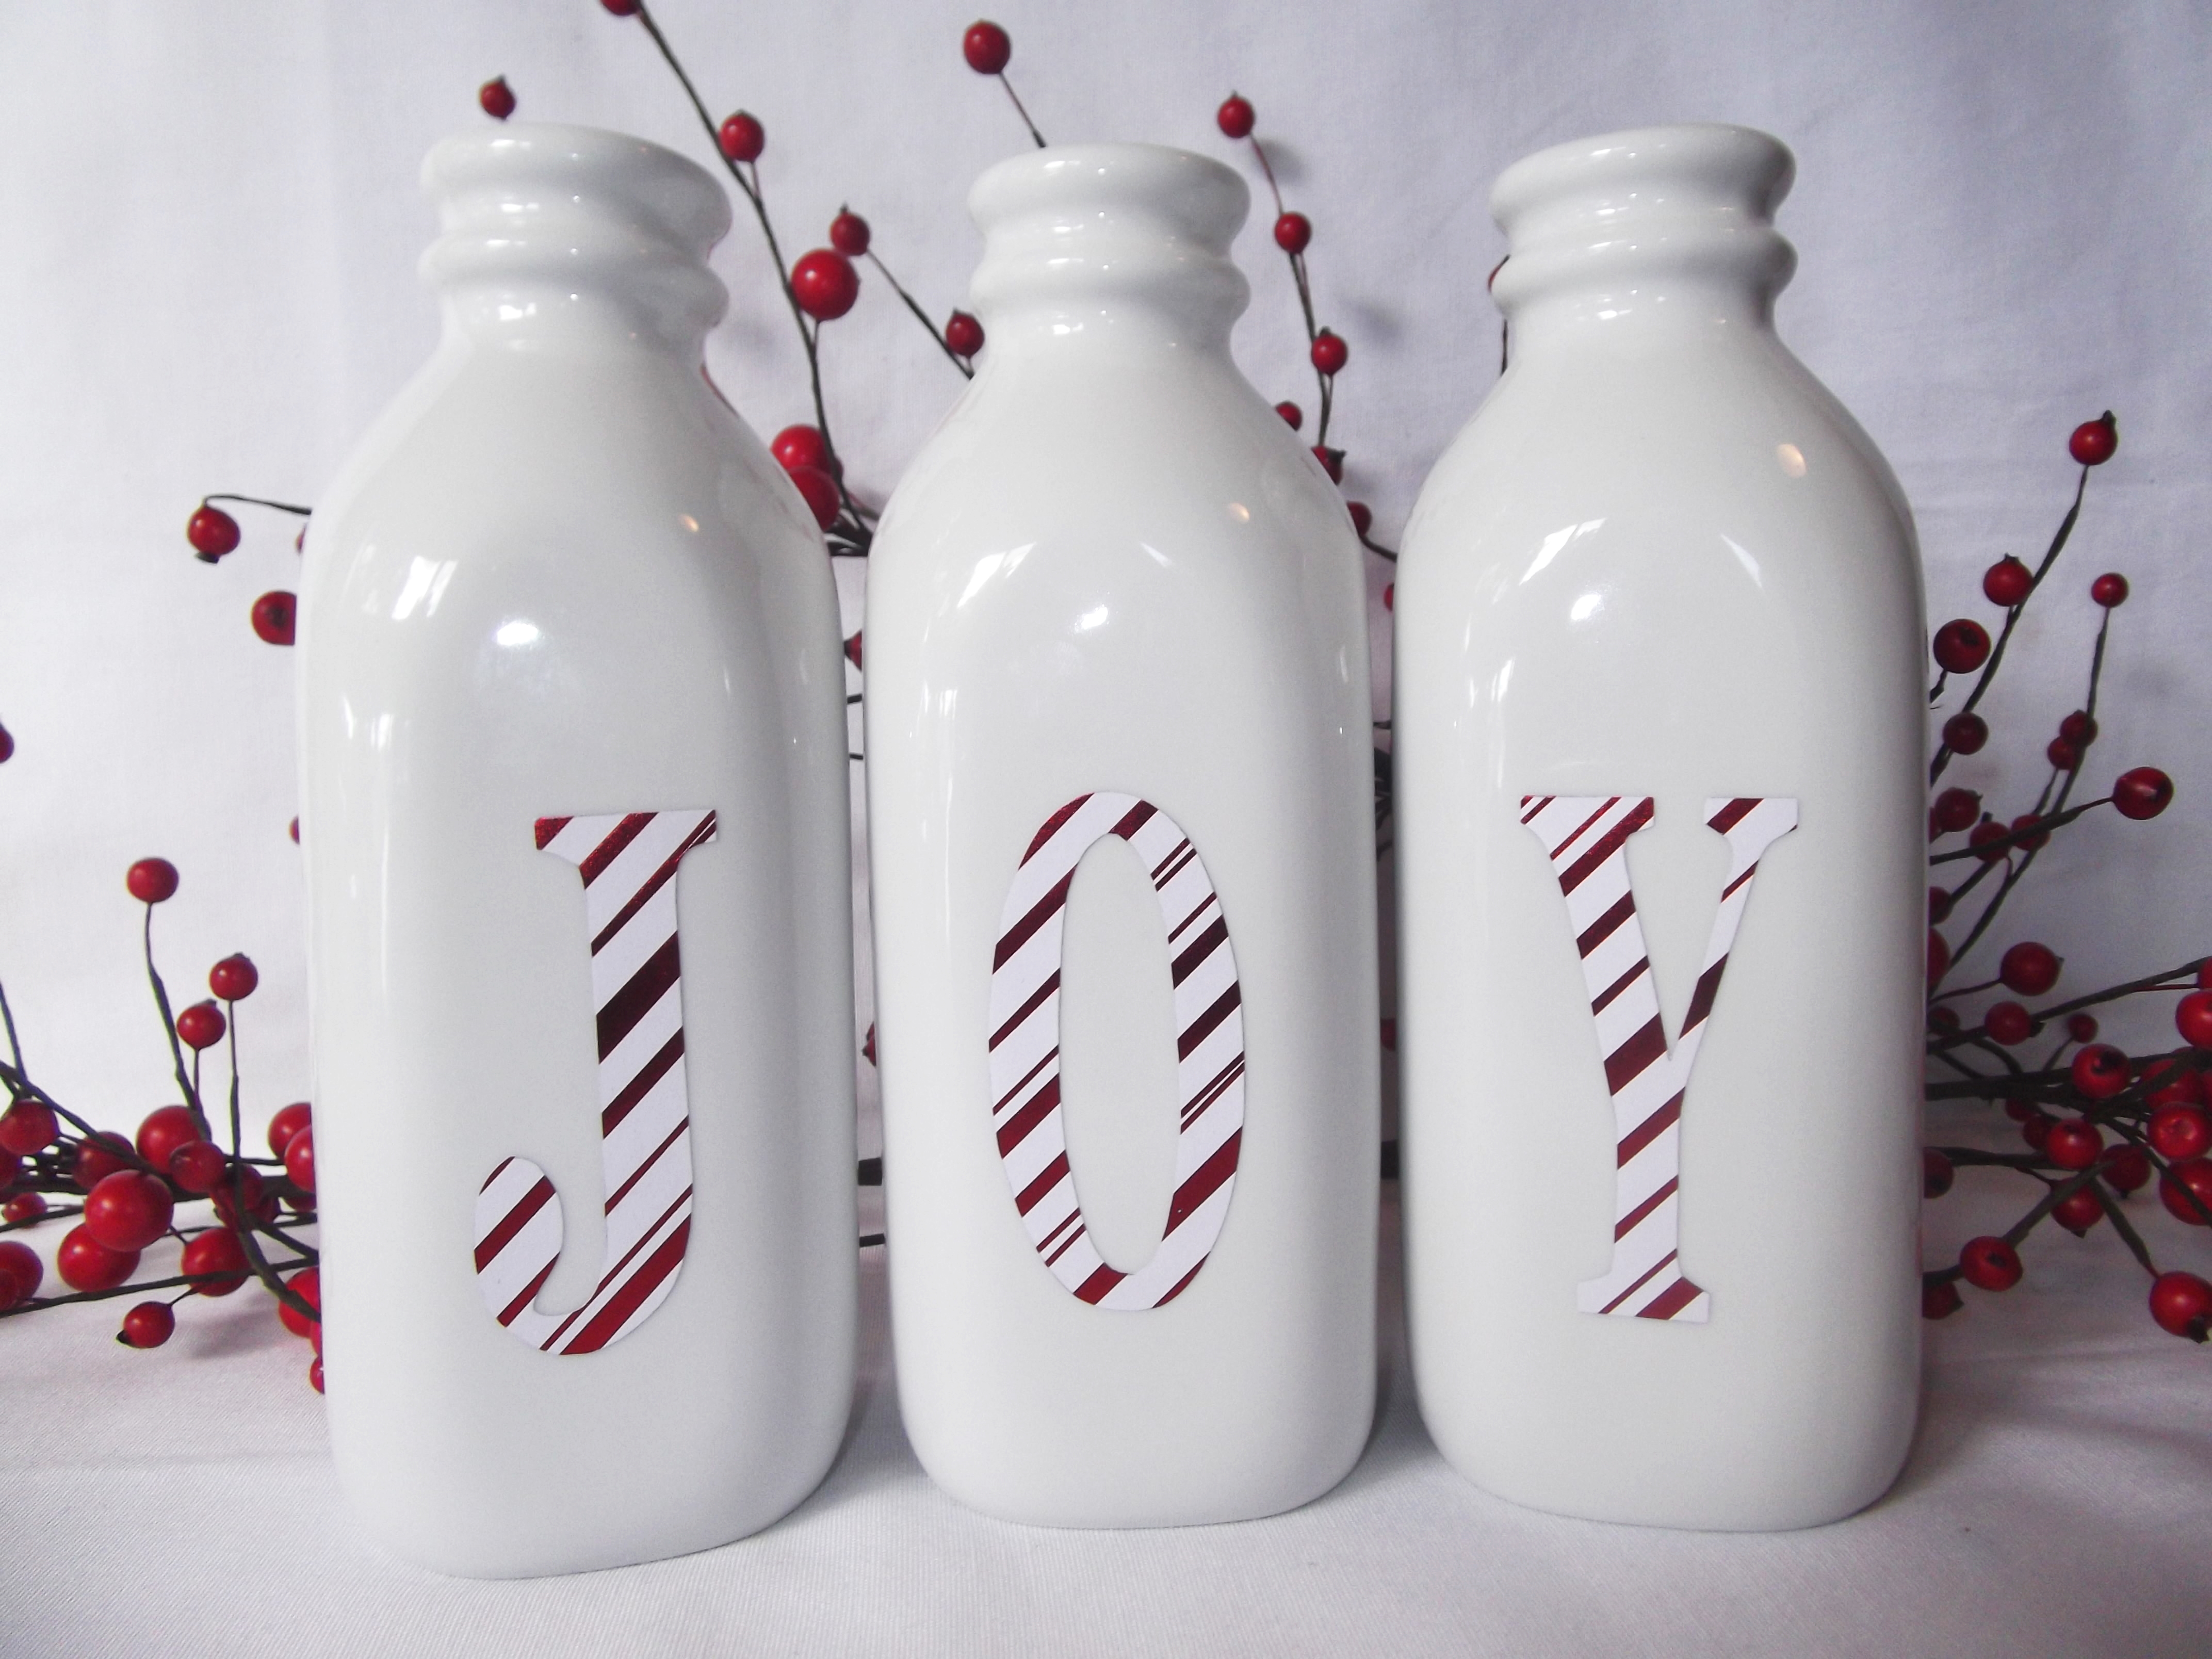
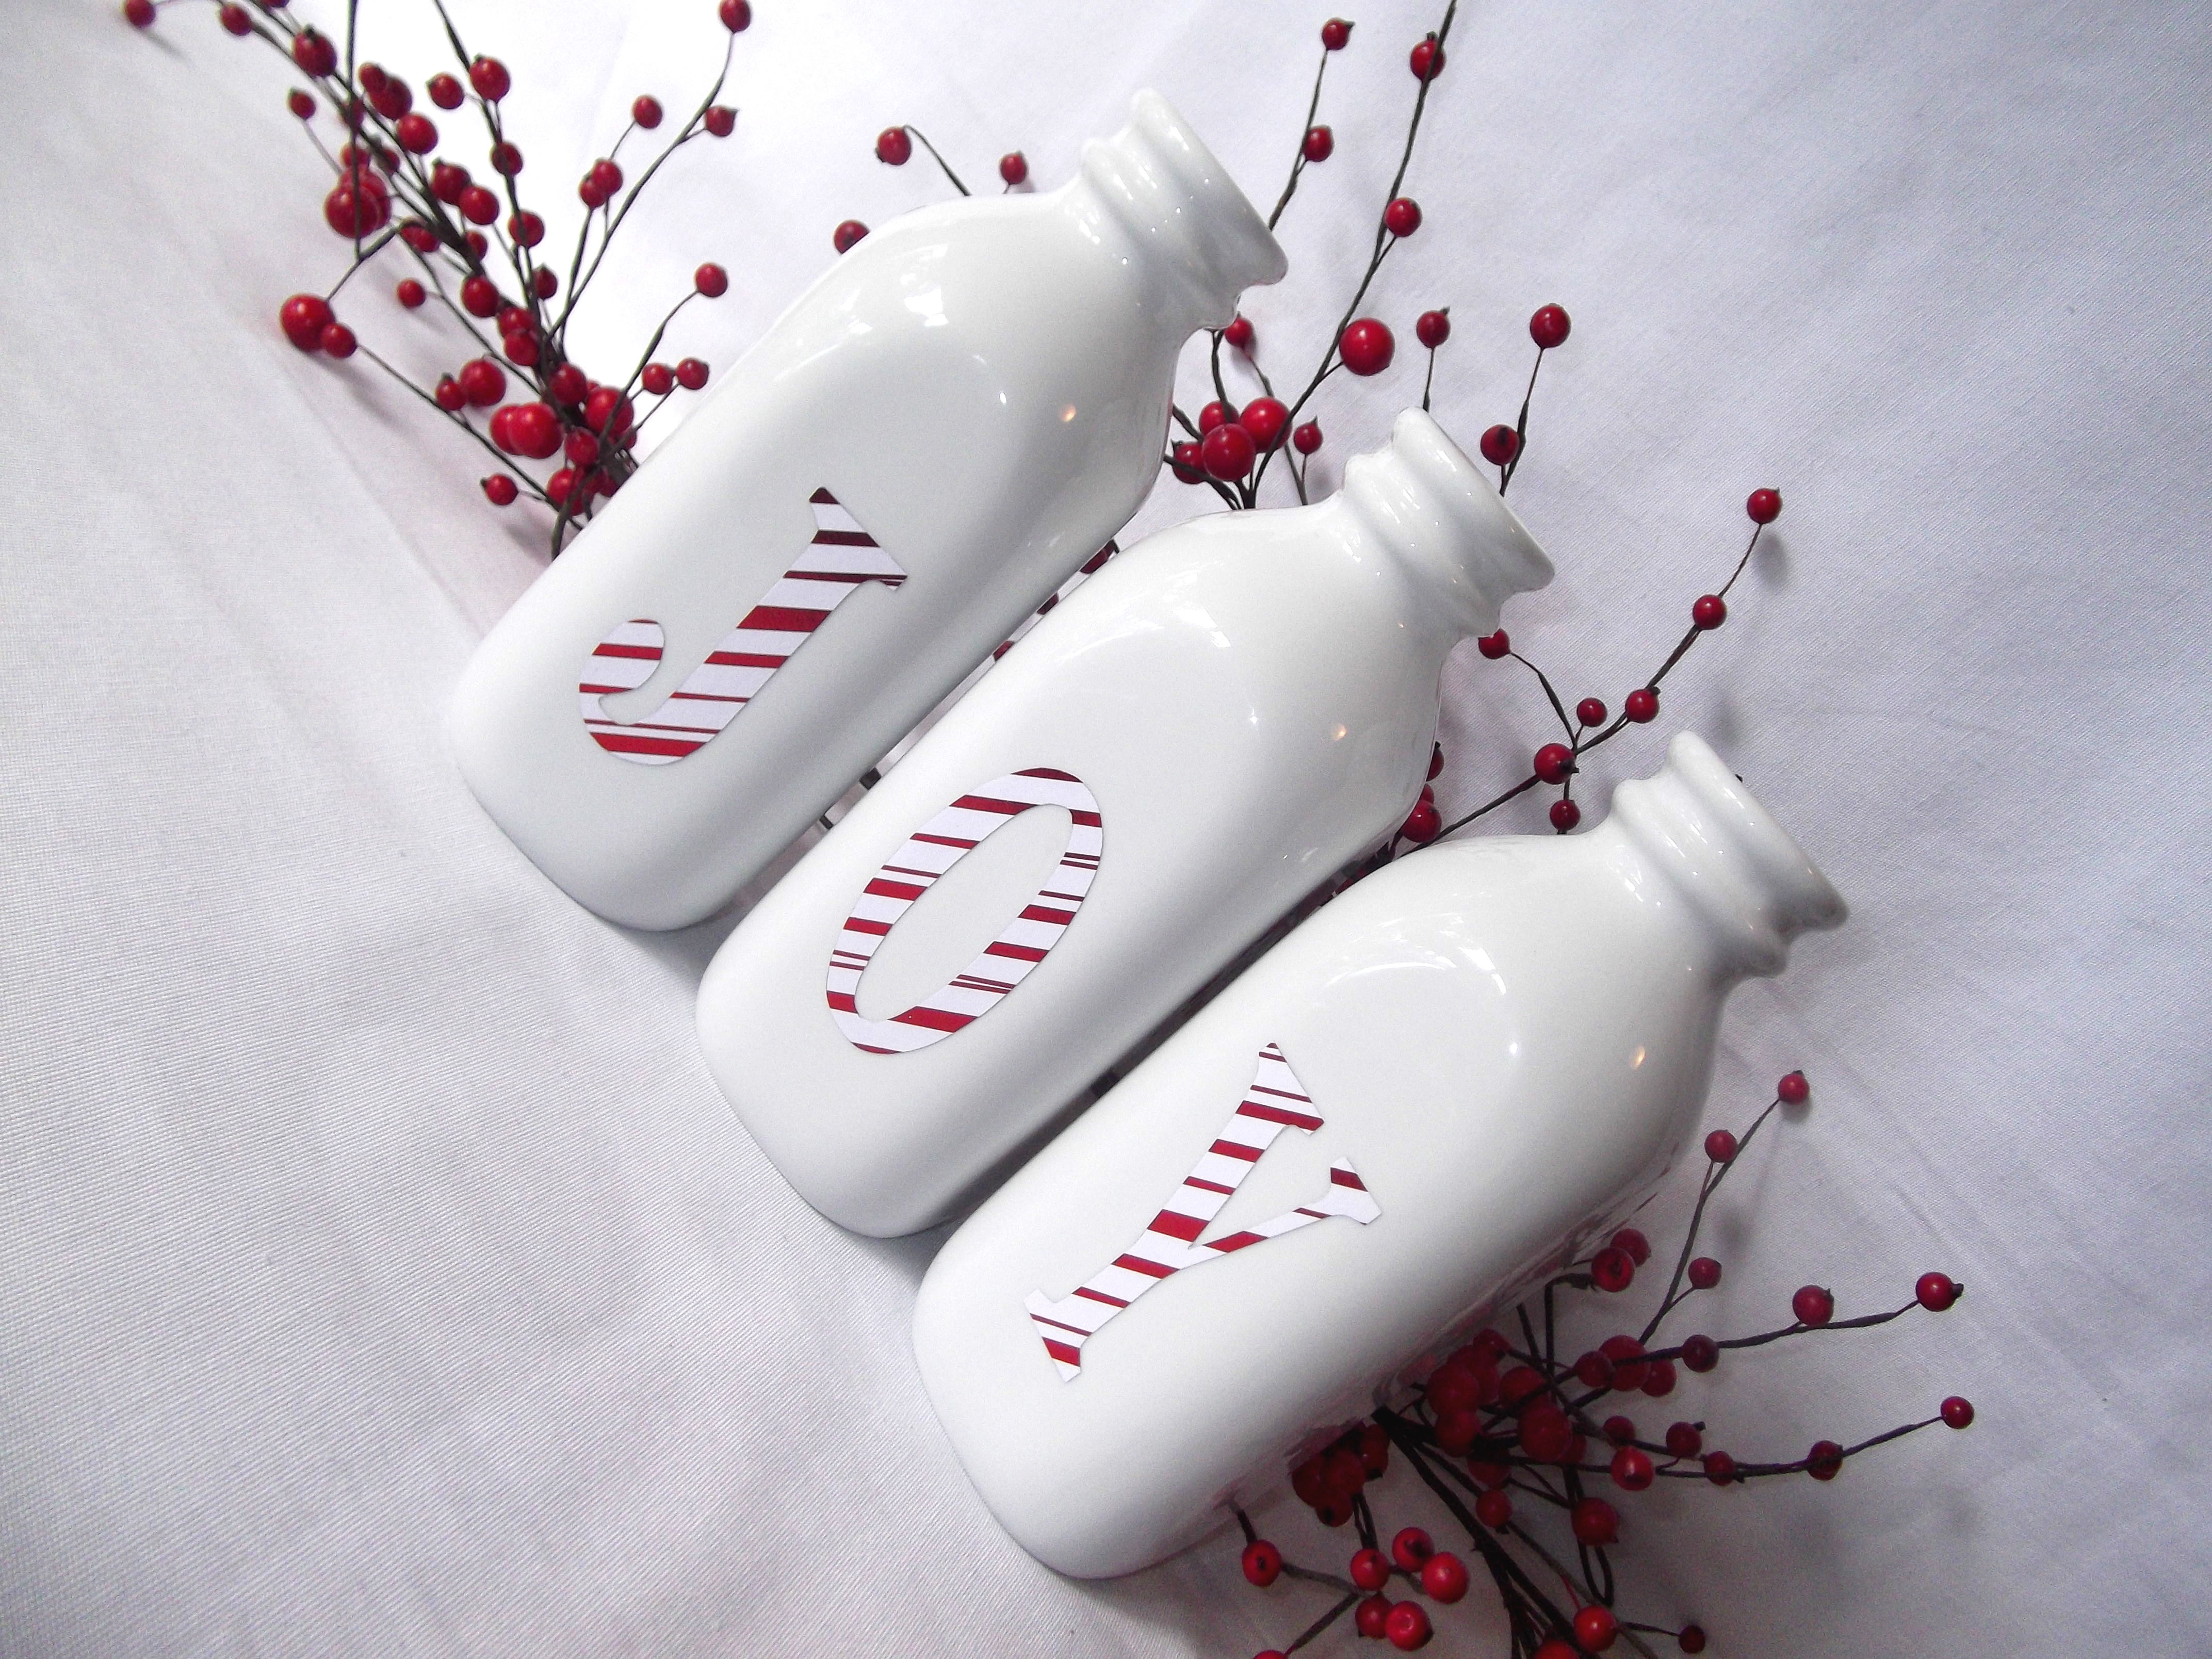
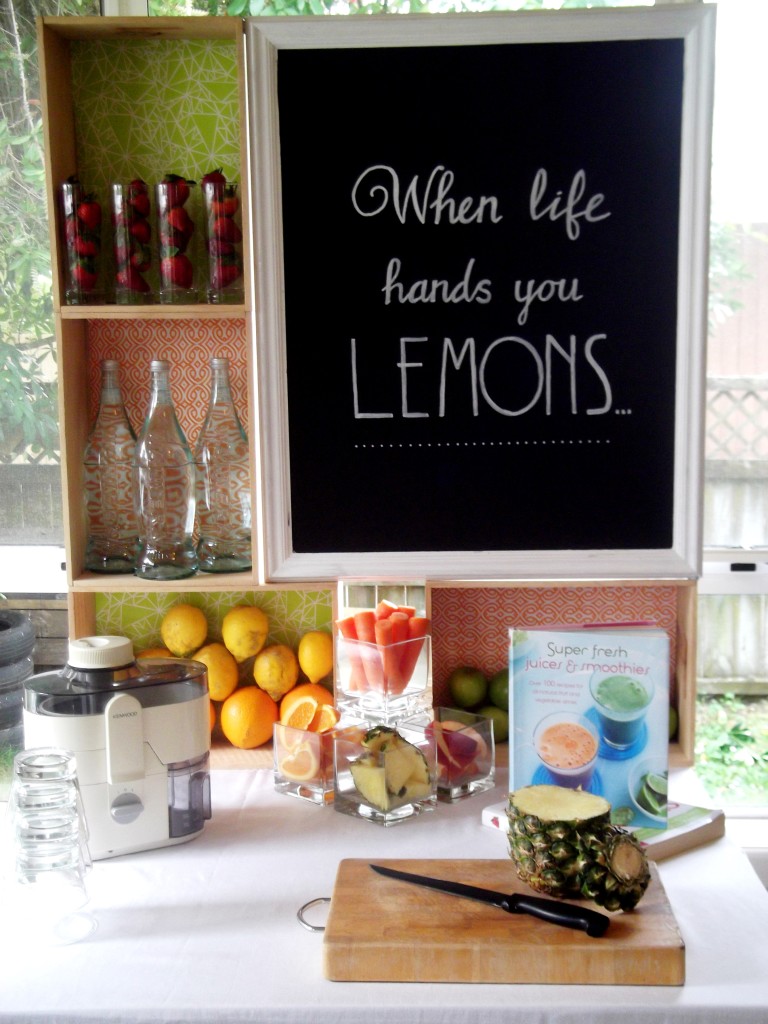
 Here’s a quick an easy gift idea. It works great as a small thank you gift or can be teamed up with a few other items to create a gift that is more substantial.
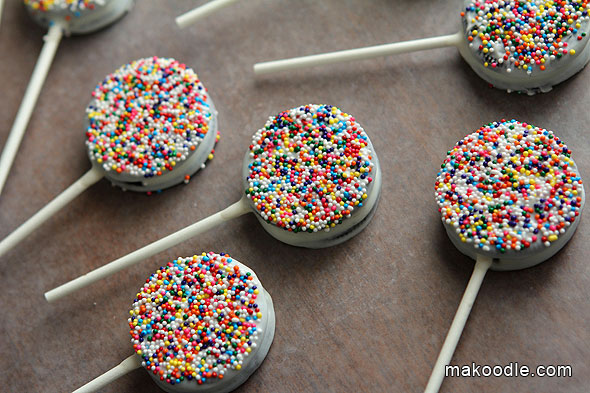