Mug Cookies in a Jar

12 Days of Christmas Ideas – Day 6

Earlier this year I was introduced to the marvellous idea of a ‘Brownie in a Mug’.  While they aren’t good for slimming the waistline, they sure do hit the spot when you’re craving something sweet and don’t have the time to bake a whole cake.   Now, as I often do when discovering a new baked item, I set out in search of the perfect recipe for this delectable dessert.  Along the way I discovered a number of recipes for cookies in a mug.  This got me to thinking – “Can I make these into mini versions of the ‘Cookies in a Jar’ idea?”  After a number of trails and the adaptation of a variety of recipes I came up with three recipes for ‘Mug Cookies in a Jar’, which is the Christmas idea I wish to share with you today.
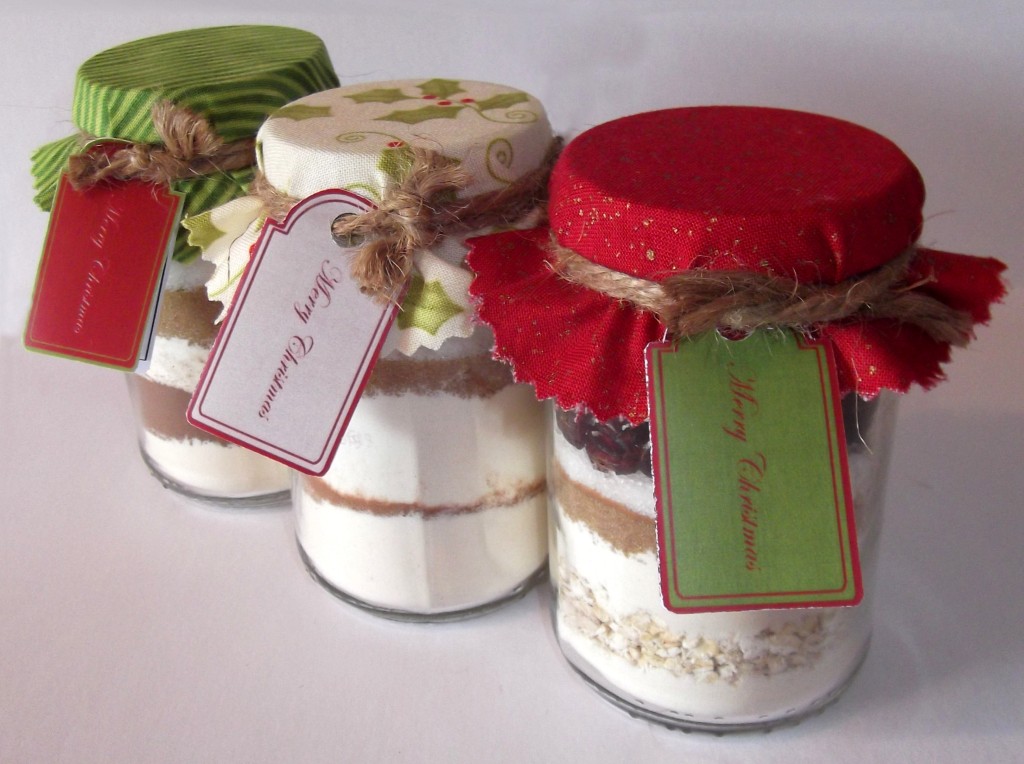
Mug Cookies in a Jar

Mug Cookies in a Jar


Hootycreek Cookie in a Mug

1. Layer the ingredients in a 170g jar in the order they are listed below:

  • 3 tsp of Flour
  • Pinch of Salt
  • 2 Tbsp of Rolled Oats
  • 2 tsp of Flour
  • 1 Tbsp Brown Sugar
  • 1 tsp of Cinnamon
  • 1 Tbsp of White Sugar
  • A layer of Cranberries
  • A layer of White Chocolate Chips
  • A layer of Pecan Nuts chopped.

2. Attach tag with the following instructions:

Place 1 Tbsp of butter in a mug and melt in the microwave for 30 seconds on High. Add the contents from the jar, mix a little before adding 1 egg yolk, 2-3 drops of vanilla and 1 Tbsp of water.  Mix until fully combined.  Cook in the microwave on high for 1 minute.

Rainbow Button Cookie in a Mug

1. Layer the ingredients in a 170g jar in the order they are listed below:

  •  5 tsp of Flour
  • 1 tsp of Cinnamon
  • 4 tsp of Flour
  • Pinch of Salt
  • 1 Tbsp Brown Sugar
  • 1 Tbsp of White Sugar
  • A layer of Candy Coated Chocolate buttons (e.g. M&Ms, Pebbles or Smarties)

2. Attach tag with the following instructions:

Place 1 Tbsp of butter in a mug and melt in the microwave for 30 seconds on High. Add the contents from the jar, mix a little before adding 1 egg yolk, 2-3 drops of vanilla and 1 Tbsp of water.  Mix until fully combined.  Cook in the microwave on high for 1 minute.

Sand Art Brownie in a Mug

1. Layer the ingredients in a 170g jar in the order they are listed below:

  •  4 tsp of Flour
  • 2 Tbsp of Cocoa
  • 5 tsp of Flour
  • Pinch of Salt
  • 6 tsp Brown Sugar
  • Pinch of Cinnamon
  • 3 tsp of White Sugar
  • A layer of Candy Coated Chocolate buttons (e.g. M&Ms, Pebbles or Smarties)
  • A layer of Walnuts chopped

2. Attach tag with the following instructions:

Place the contents of this jar in a mug.  Add 1/4 cup of water, 2 Tbsp of oil and 1-2 drops of vanilla.  Mix together well.  Cook in the microwave on high for 1 1/2 minutes.


I found that the best jars to use were the 170g Baby food jars.  Putting these through the dishwasher does a good job of removing the label, although sometimes there are still a few glue marks left.  I found that with a little scrub using a pot scrubber or by rubbing the marks with  Eucalyptus oil on cloth.  Pak ‘n Save sell Eucalyptus Oil in their first aid section, most pharmacies sell it too but it does tend to be more expensive.
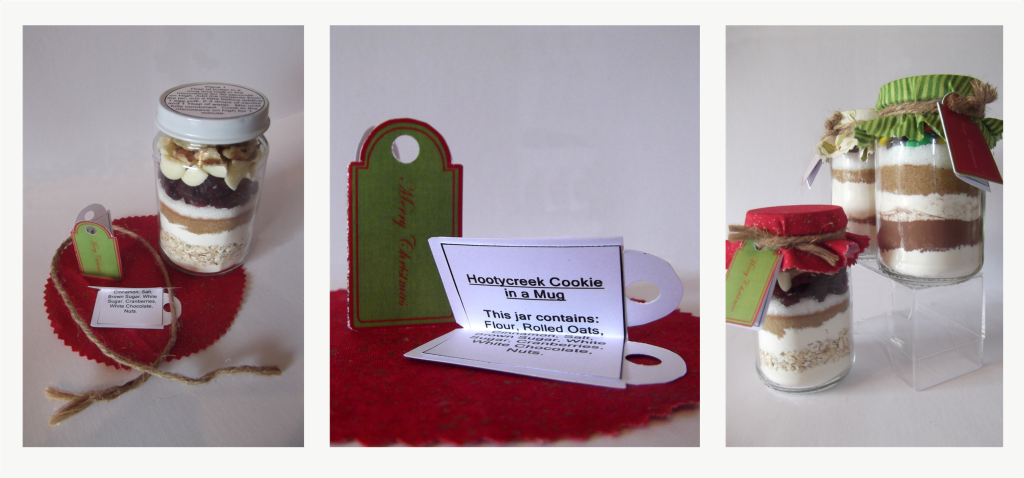
Mug Cookies in a Jar Step-by-Step

After packing the ingredients into the jar I decorated it using a circle of fabric tied over the lid and by adding the instructions and ingredient tags.  These printable tags are available here as a free download.

Download Mug-Cookies-In-A-Jar printables

I love this idea as it can be used as a small gift on its own, as a party favour or as a unique addition to a gift basket.  I hope you like it too and have a go at making some yourself.
Christmas Card Frame

12 Days of Christmas Ideas – Day 4

When talking about Christmas Cards I can’t help but think of my Nanna.  Such an amazing lady who for years would faithfully send Christmas cards with a newsletter tucked inside to family and friends all around the world.  As a result she would receive many in return.  I still remember going to visit her in her 2 bedroom Unit, and being amazed by how on every wall of her living room there hung a string displaying Christmas cards she had received that year.  In fact there was usually one that hung across the room too, causing us to duck our heads as we made a be-line for the antique rocking chair.

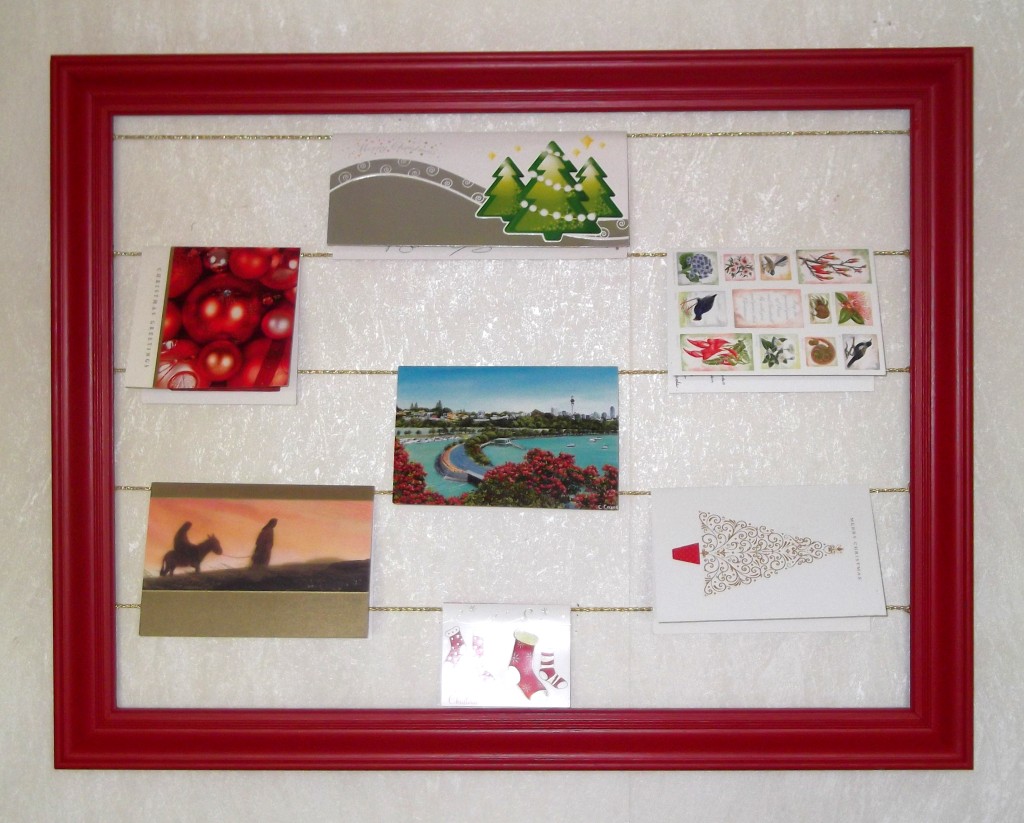
Now while I doubt I will ever get as many cards as my Nanna, I usually get a few each year which lead me to search for a simple yet creative way to display them.  Having seen a number of appealing ideas this is the one I chose to make.

The Christmas Card Frame

The Christmas Card Frame

I liked this idea because it was simple yet effective.  It also keeps all the cards together in one space and frames them like a work of art.

It was very easy to make.  I bought a large framed picture from the second hand shop and remove the picture that was in it.  I then gave it a light sand before giving it 2-3 coats of Resene Paints’ – Red Berry.  One test pot was plenty and it only cost $4.30.

Christmas Card Frame - Step by Step

Once it had dried I measured out the points to which I attached the gold cord which I purchased from Spotlight.  To do this I put a gun staple in the frame and tied the cord to it – making sure the knot was out of sight when looking at it front on.  All that is left to do is hang it on the wall – and for that my favourite things are the Command Picture Hanging Strips.  You can get these from a variety of local stores.

Christmas Card Making Party

12 Days of Christmas Ideas – Day 3

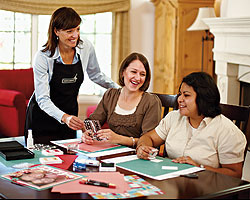
CTMH Party

Yesterday I mentioned that I’d be sharing some party ideas, where you can get together with friends, have fun and get things done at the same time. So here is the first of two – the Christmas Card Making Party.

Sending out Christmas cards is lovely way to let family and friends know that you are thinking of them, and I think a handmade card is even more special.  To be honest I don’t consider myself to be good at making cards – rarely am I happy with how the finished product looks.  However, when I sit and make cards with friends the inspiration and motivation flows.  Not to mention the great conversations we have.

So why not gather a group of friends to make Christmas cards.  Inspire each other with your favourite techniques.  Organise a swap of papers or embellishments.  And chat about the things you might write in them.  Refreshments don’t need to be a big fuss – just offer a cuppa and some cookies or fruit if you want a healthier option.  Another idea could be wine and cheese – simple and no fuss.

If you like the idea but don’t know where to start then there are a couple of companies that I’d recommend.  Stampin Up and Close to My Heart both have a lovely range of paper craft supplies – their demonstrators or consultants are glad to help you learn new ways to create beautiful cards, among other things. If you would rather have a go on your own then Spotlight and the Warehouse have a good range of materials and if you need design ideas then PageMaps has a multitude of suggestions.

We’d love to see your favourite cards and hear about your party in the comments below.  Happy card making!

Counting Down To Christmas – Advent Calendars

12 Days of Christmas Ideas – Day 1

Once again the countdown to Christmas is almost upon us.   I often say to my clients that the build up to their special occasion should be just as enjoyable as the celebration itself.  Naturally there are different activities to be enjoyed during these two different periods of time, but I believe that if you can enjoy the planning stage and build up a positive anticipation for the celebration then when the day actually arrives you get to enjoy it so much more, and to me Christmas is exactly the same.

One of the easiest ways to do this is with the Advent Calendar.  I have fond memories, as a child, of opening the little doors on our cardboard advent calendars to see the little Christmas themed picture inside.  Nowadays it is to get the chocolate – which I’m not so fond of because the focus seems to be more on the chocolate rather than the thing we are actually counting down to.  For this reason I’ve made an advent calendar that can be used again and again and that I can add my own treats to.  While I still intend on having a few chocolates, I plan to add activities that I can do with my family to build up the anticipation for Christmas.

So here are my Top 5 Favourite Advent Calendar Designs along with my Top 5 Suggestions for what can go in them:

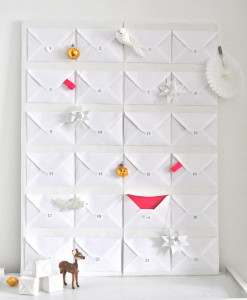
envelope_advent

A simple yet effective Advent Calender. I like the way they have added just a few ornaments to dress it up.

As seen on: A Few Things From My Life

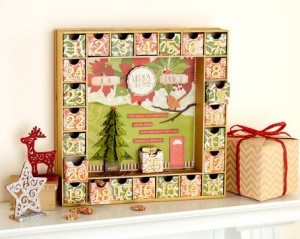
Kaisercraft Advent Calendar

I saw this idea in the Spotlight catalogue. I like the little draws and the ability to create a display in the centre.

 As seen on: Spotlight

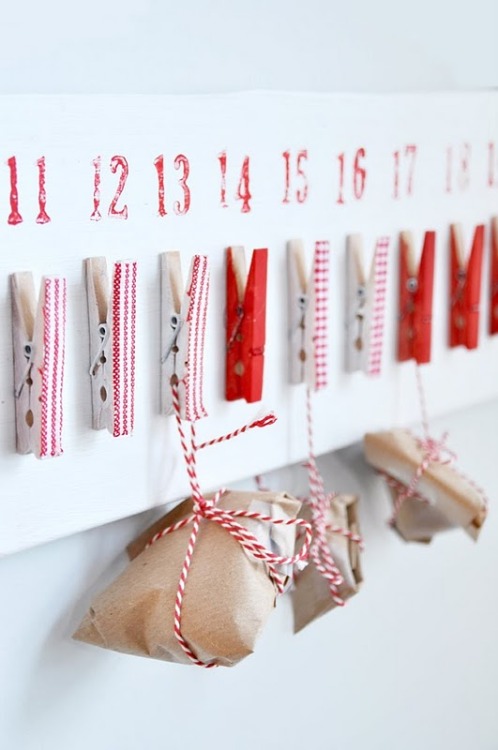
Peg Advent Calendar

Another simple yet effective idea. You could peg up any item that takes your fancy. Little cards, ornaments for the tree, little gifts or even sweets.

As seen on: I Heart Nap Time

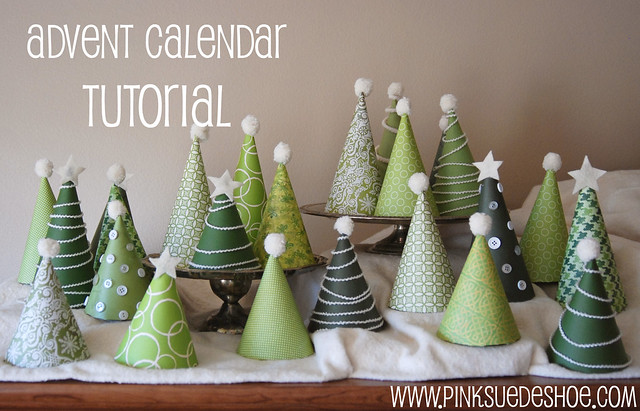
Cone Tree Advent Calendar

I love this idea. While I might consider adding numbers, I think it is such a creative way to countdown to Christmas and it doubles as a decorative Christmas display too.

As seen on: Pink Suede Shoe

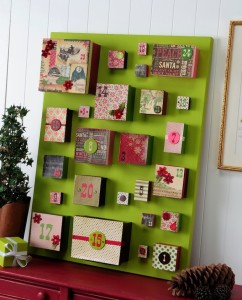
DIY-advent-calendar-using-a-canvas-and-boxes-for-the-gifts

This is my favourite Advent Calendar. The different sized boxes leave the possibilities for filling them wide open.

As seen on: Mod Podge Rocks

Top 5 Suggestions:

  • Build Gingerbread Houses
  • Read a Christmas Story
  • Watch a Christmas DVD with special snacks to eat
  • Go to see the Christmas Lights
  • Bake Christmas Cookies together

We’d love to hear what ideas you might have for your Advent Calendar, please add these to the comments below and have an enjoyable countdown to Christmas.